Is there anything more nerve-wracking than trying to figure out how to use a toilet after back surgery?
The journey to recovery from back or spinal surgery is often marked by a multitude of challenges and adjustments, requiring patience, resilience, and courage. Yet, amidst the flurry of hospital visits, pain management techniques, and therapy sessions, there is one mundane, yet essential, task that can seem insurmountable in the early stages of recovery: using the toilet.
The simple act of using the toilet, something most of us take for granted, can become an obstacle course fraught with pain and uncertainty post back surgery. Suddenly, those basic daily needs are imbued with questions: How can I sit down without aggravating my healing spine? How do I manage when I’m home alone? What equipment and adaptations are necessary to ensure safety and comfort?
I understand there are a lot of questions you may have about using a toilet after back surgery. I also understand that not everyone knows how to ask these questions or even WHO to ask.
But rest assured, I can help. I’ll go over how to safely use a toilet after a back injury or surgery, so you can avoid possible missteps that can cause problems with your healing process or cause a lot of extra pain and frustration. Whether you are a patient, caregiver, or a loved one of someone navigating this journey, I invite you to delve in, understand, and overcome the intricacies of using a toilet after back surgery.
Overview
When you’re healing from a back injury or back surgery such as a post-lumbar operation, the two things you really can’t do are bending and twisting, two actions which are traditional involved with using a bathroom. I’ll go over how I’d set up the bathroom in this situation and the strategies that I would use to follow all precautions closely so you can heal.
First is a list of products that may be helpful and that I recommend. Don’t worry. I’m not just peddling products. I’ll discuss why these products and equipment might be helpful and in what situations, so you can make the decision for yourself.
Then, we’ll take a look at how clothing can affect your ability to use the toilet after back surgery or injury and some tips for better clothing management.
Finally, we’ll address toilet hygiene and some strategies for helping you feel clean.
- Products
- Equipment
- Clothing Management for Going to the Toilet After Back Surgery
- Hygiene and Going to the Toilet After Back Surgery
Please note: Before we begin, you need to make sure you follow all the instructions and warnings provided by the manufacturer. The steps below are only to provide guidance with installing or assembling equipment, but you should always follow the warnings and instructions provided by the manufacturer and always speak with your medical team before adding new equipment to your routine.
Products
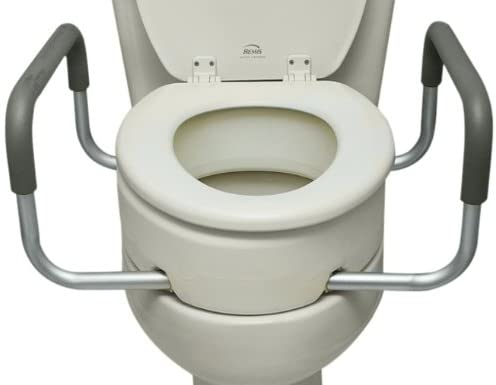
Raised Toilet Seat
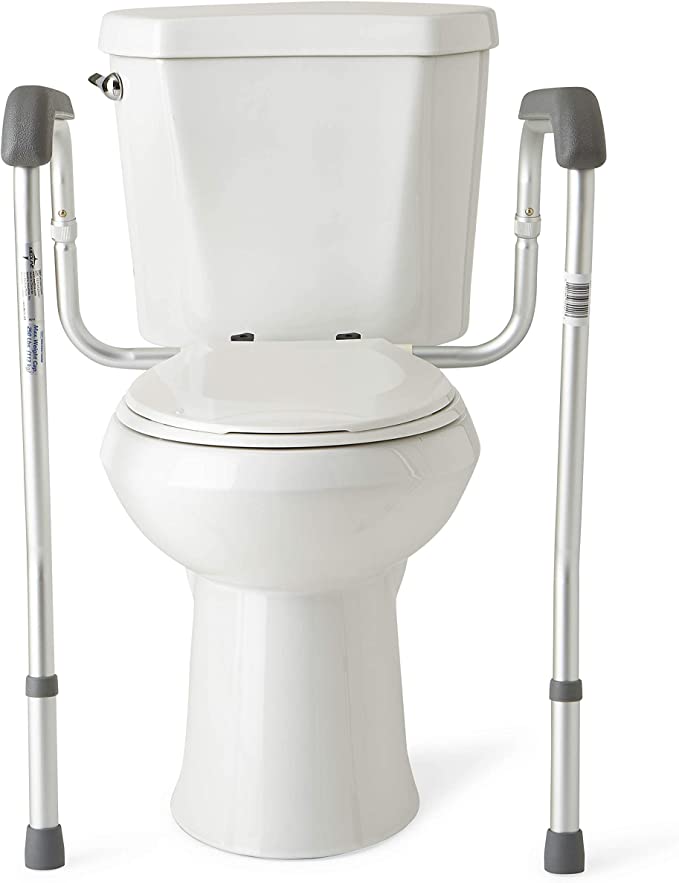
Toilet Safety Frame
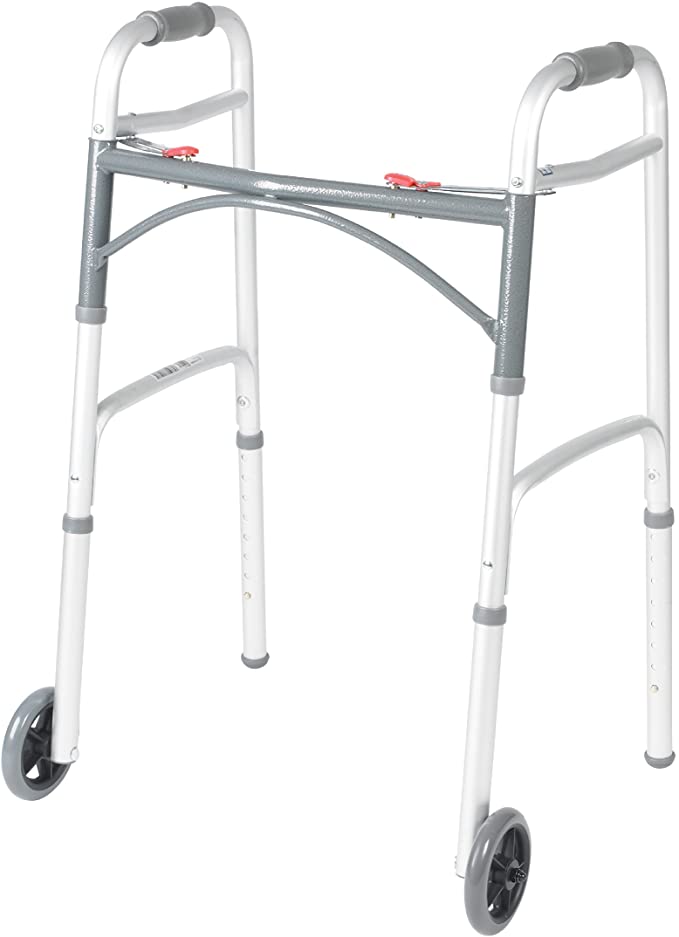
Standard Walker
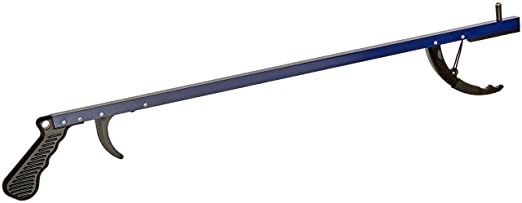
Reacher/Grabber
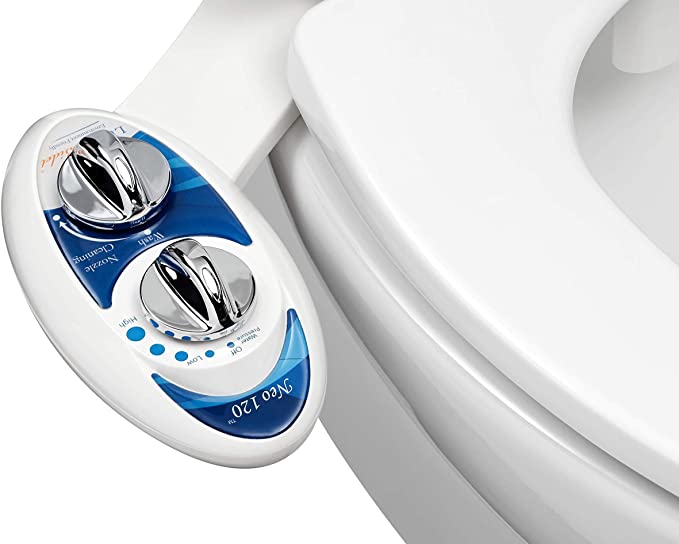
Luxe Neo 120 Bidet
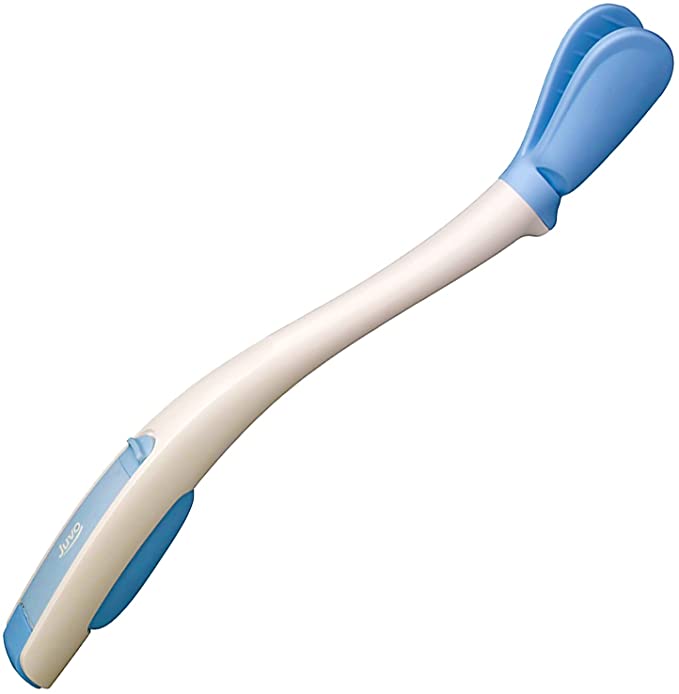
JUVO Wiping Aid
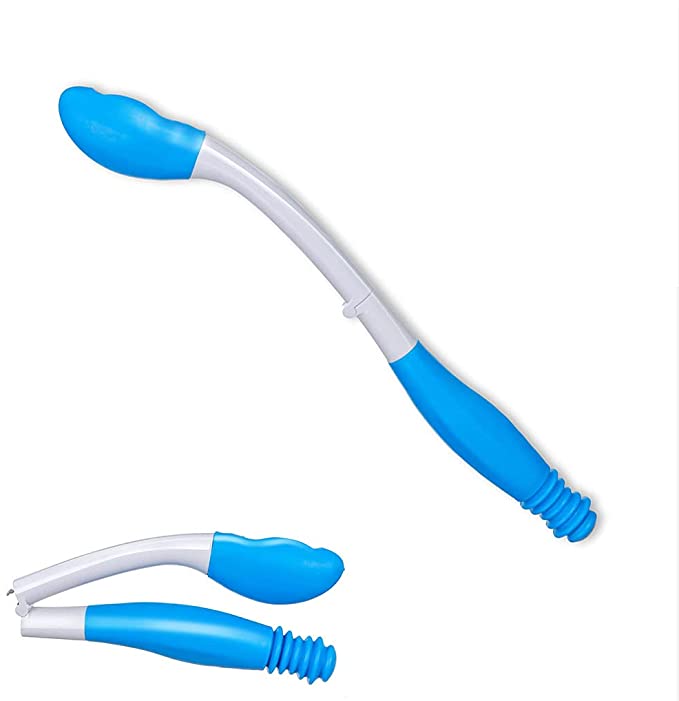
Folding Wiping Aid
Equipment
There is no shortage of equipment available to help you with using a toilet after back surgery or injury. Which pieces of equipment you decide to use will depend on you, your injury, and your bathroom setup.
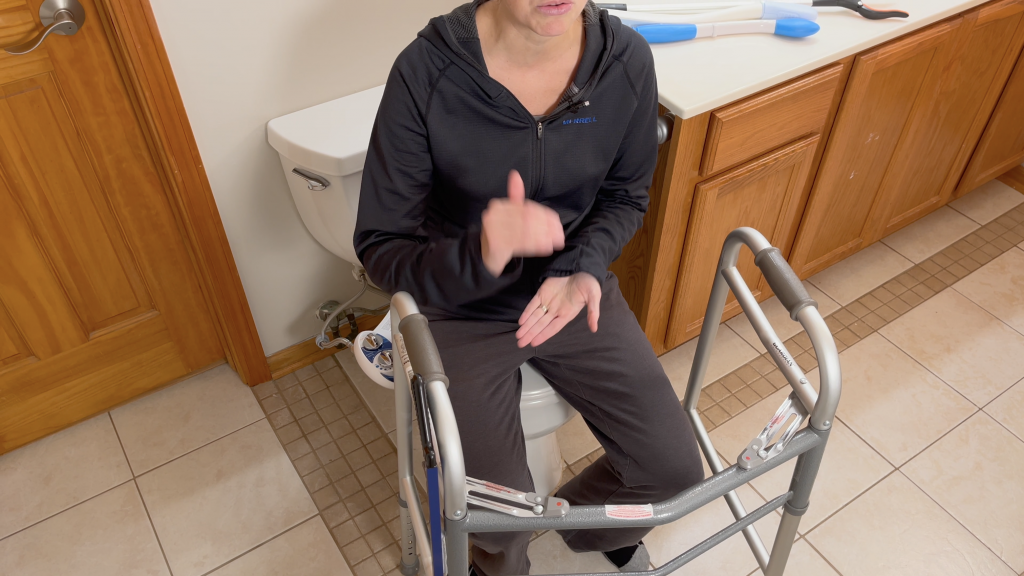
For demonstration purposes, we’ll use my bathroom as an example. I’ll show some things I might do to improve it a little bit.
So, this bathroom has a very low standard toilet. The toilet is only about 15 inches high. If I were a slightly taller person, I’d probably put a riser on it, which would give it an additional three inches putting it at that 15-18 inch height. That height would make it more comfortable for getting up and down. Now, I’m relatively short. I’m only five foot four, so I could get away with this if my legs were strong. It’s going to depend on your needs.
Installing a toilet riser or raised toilet seat is not difficult and can be done relatively quickly.
Security Frame
To take care of yourself when you go to the toilet after back surgery, I also would strongly consider having a security frame or something to hold on to when you’re backing up to sit down. One of the things you cannot do during your transfer onto the toilet is turned to look where the seat is. You need to be able to feel it with your hands before you go to set. You don’t want to miss the seat and crumble to the floor.
There is a trick that would work with your walker. Stand with your walker as you approach the toilet.

Push the walker up against the back of the toilet.
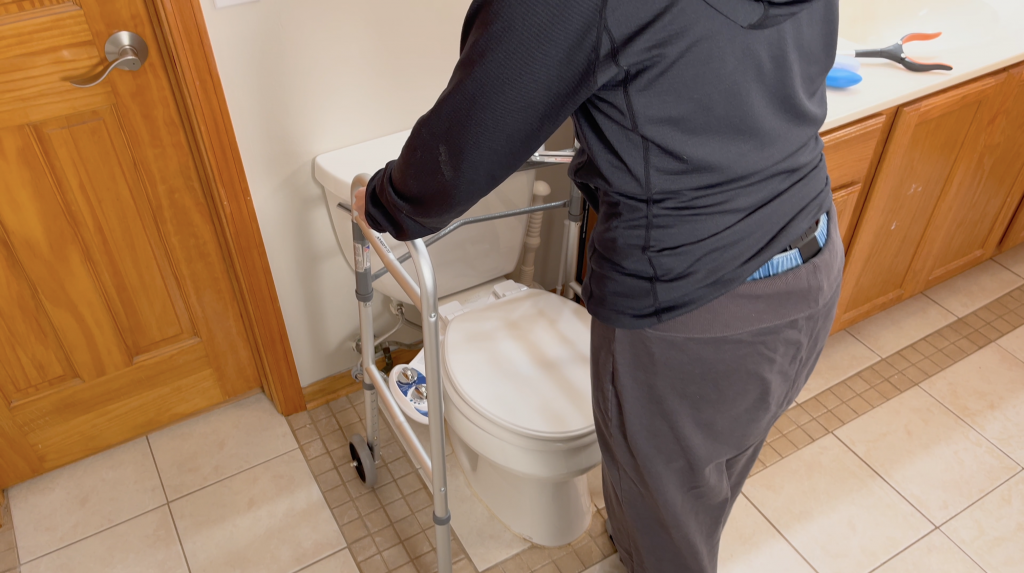
Now, retake your steps, holding on to the walker handles, walking in a circle. Your hands can be behind you. This is a safe position; now, you have something to help guide you as you sit on the toilet.
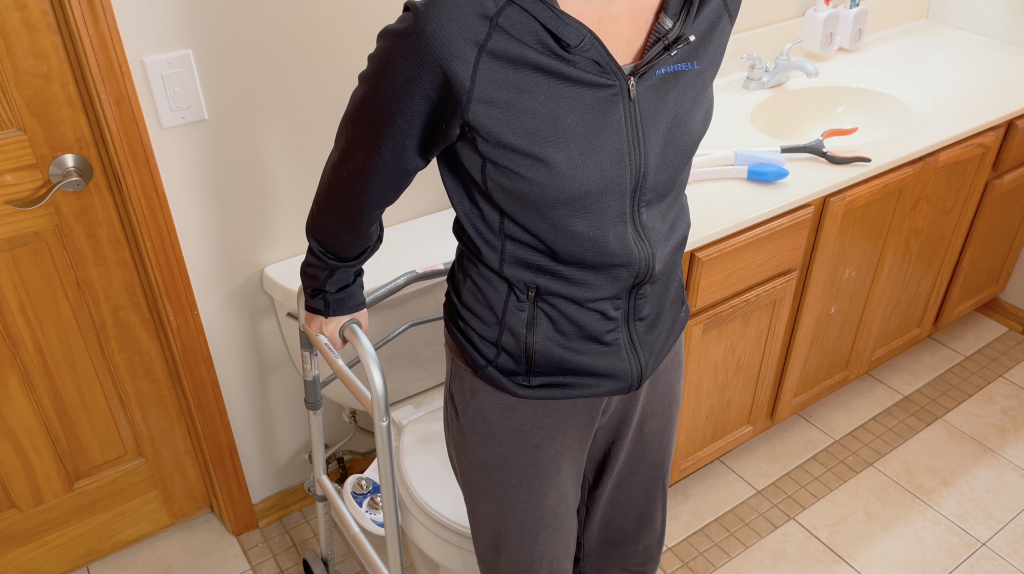
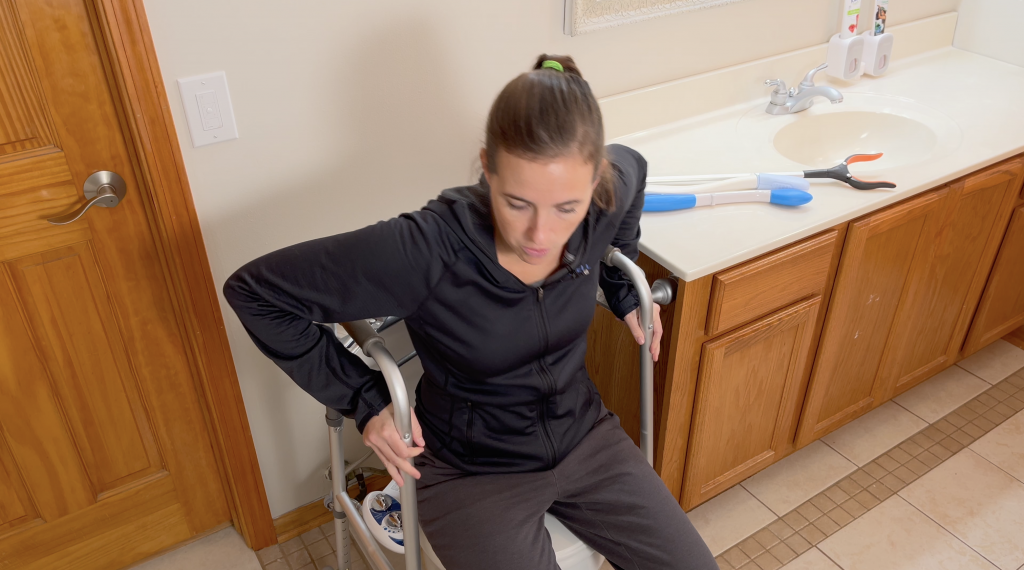
Now, you’re on the toilet safely and the walkers behind you. You can use it to help you sit and stand back up.
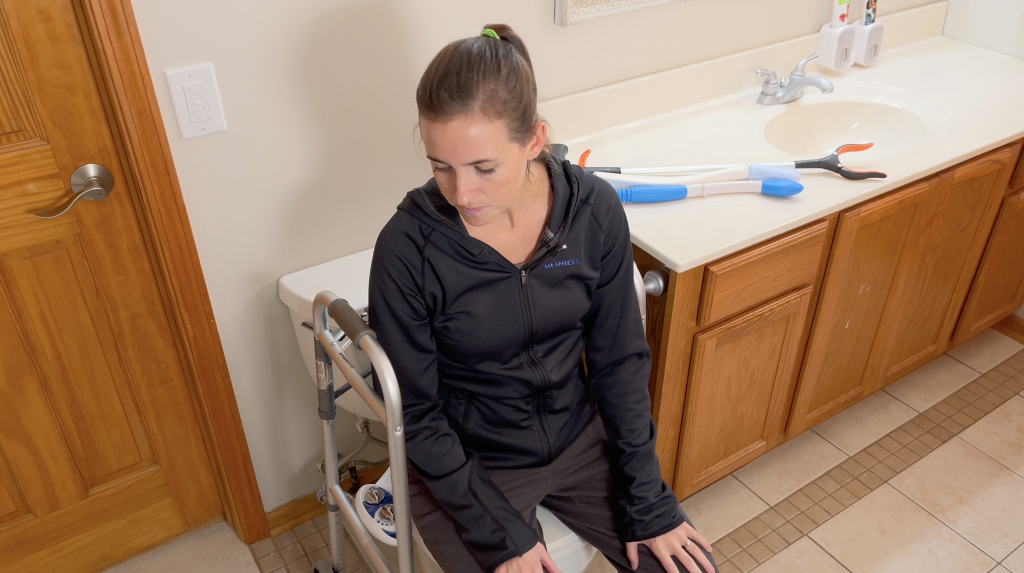
However, keep in mind when trying to stand-up, you can’t twist. So, we often tell people to hold on to the front portion of the walker and help push themselves to a stand.
Reacher
A few other essential pieces of equipment I’d have in place is an excellent reliable reacher. Make sure this reacher is someplace where you can get it quickly because, in the bathroom, the last thing you want is to be fumbling around looking for a reach or trying to pull your pants back up.
I recommend having a designated bathroom reacher for hygienic reasons and to ensure you’re never without it when using the restroom. You can get these inexpensively, which you’d be using them for in the bathroom.
Wiping Aids
Another thing you might need in the bathroom is a way to help with hygiene. Often, during a back surgery or back recovery, you cannot reach easily to get to your backside to wipe it for cleanliness. Here are two different models of wiping aids, which will give you an extended reach so that you can reach back and wipe yourself without bending or twisting unnecessarily.
This model is excellent because it folds in half, so it’s a little more transportable, but not necessary if you’re going to keep it in the same bathroom all the time.
It has a slightly different option than this one by JUVO which has a removable lid. You can see it has more of a clamp end, and then you pinch the toilet paper between it.
Clothing Management for Going to the Toilet After Back Surgery
Another thing that you want to consider is the type of clothing you’re picking, especially early on in your recovery process.
Elastic Waistbands
Elastic waistbands are essential, and there are two reasons why. First, it’s significantly more comfortable and second, they are easier to deal with, especially if you’re dealing with a low lumbar brace. Constantly figuring out how to get pants under or over a brace is a little tricky. So, having a good pair of elastic pants or several pairs is an excellent idea, so you’re not doing laundry too frequently.
I’ll show you why this is an excellent way to do it. When pulling your pants down, if you have an elastic waist, you can stop the pants at about mid-thigh by simply pulling them down. Again, this will depend on how much balance and comfort you have. You don’t need to bend while doing this, and now you’ve got your pants mid-thigh. You may have to separate your legs just a little bit to put some resistance so they don’t slide down to the floor. Have another pair of pants underneath, giving them a little friction to hold them in. Now, with the pants at your thigh, you can quickly sit down. Then, if you choose, you can work them a little farther down but still not so far that you’d have to use your reacher to get them off the floor. Keeping the pants up above the knee is helpful.
Underwear
The same goes for underwear. If you can keep them around the knee level, you won’t have to use your reacher to retrieve them off the floor. I still recommend having the reacher in place because you never know. Some pants will slide down without you realizing it. This is an excellent reason to have elastic pants in place. If you do have your elastic pants or underwear, and they do happen to fall to the floor, that’s where you’d use the reacher, so you’re not bending to retrieve the pants. This isn’t allowed, so you would use your reacher to help guide them up over your knees. This is a little tricky because some other pants are a little stiff. Hold them up again at the knee height or as high as you can get them, and then stand and pull them back up, so the whole process of dressing goes much easier with a comfortable pair of elastic pants.
Hygiene and Going to the Toilet After Back Surgery
Let’s talk about hygiene. It’s essential to consider your options here. I’m a big proponent of adding a bidet. I have a toilet that has a neo 120 bidet on it that’s low cost and easy to install.
Here’s my video on installing this particular model.
A day is an excellent option for anyone dealing with chronic back issues, whether recovering from surgery or someone with something recurrent. The bidet will prevent a lot of extra twisting, which is a nice feature in the bathroom. The bidet will also not eliminate the need for toilet paper as many people still like to have that extra wipe to ensure everything is clean and dry. You can wait it out and let it dry naturally, but this is nice to have security.
Wrapping the Toilet Paper
These nice JUVO wiping aids, in their instruction manual, recommend around six squares of toilet paper. You want enough to wrap around itself a few times or create a nice cinch. I like to wrap it around so you’ll cover the head completely. Then, tuck it into the end and close it.
So, we’re completely covered on this end. Now, the good thing is both models have a nice soft end, so you don’t have to worry about accidentally injuring yourself if you wipe too aggressively. Some models have a harder plastic end and are a little iffy, so be wary of those.
Wiping While on the Toilet After Back Surgery
Access from the front, and you’ll wipe front to back, clearing out that area. Dry it off if you’ve used the bidet to wipe if you’ve done it without the bidet. The nice thing with these is that its hands-free removal. Release, and it will shake off the end, and you drop it into the toilet. A lot of people do that. Once they’ve stood up, they’ll wipe and hold this for a second. Stand up, turn around, and drop this into the toilet, so it’s all clear. I keep these in the bathroom and always wipe them down after use. It’s an excellent idea to keep them clean, so you don’t spread bacteria around. This one comes with a little extra cover, so that’s a nice feature too. It’s vented for drying, so you can do that once you’ve wiped it down.
So there you have it: several ways to keep you safe and secure when using you go to the toilet after back injury or surgery. If you need more information on staying safe and independent in your home and community, consider subscribing to EquipMeOT.
*all prices are at the time of publishing
Note: This post contains affiliate links that provide a small commission without any added cost to the user.
- How to Sleep After a C-Section or Abdominal Surgery

 Recovering from a C-Section, appendectomy, abdominoplasty, or other abdominal surgery can feel overwhelming, especially when it comes to something as essential as sleep. With a tender incision and limited mobility, finding a comfortable position may seem impossible—and yet, proper rest is critical for healing! In this …
How to Sleep After a C-Section or Abdominal Surgery Read More »
- How to Get In and Out of the Car after Hip Replacement
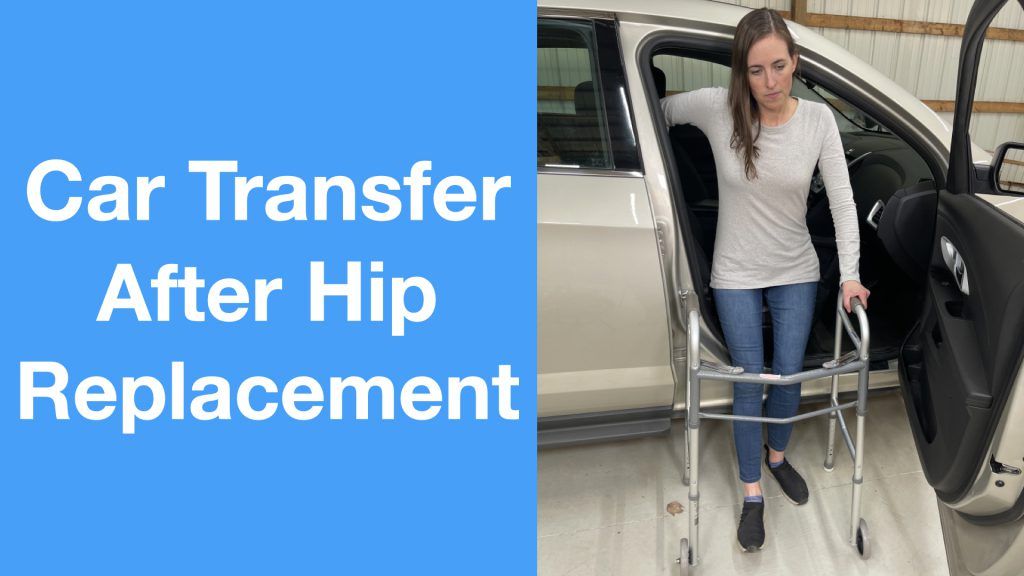 Getting in and out of a car after a hip replacement can feel like navigating an obstacle course. Ensuring you move safely and avoid unnecessary strain on your healing hip is essential for a smooth recovery. Whether you’re heading to a follow-up appointment or simply enjoying …
How to Get In and Out of the Car after Hip Replacement Read More »
- A Complete Guide to Lower Body Dressing After Hip Replacement Surgery
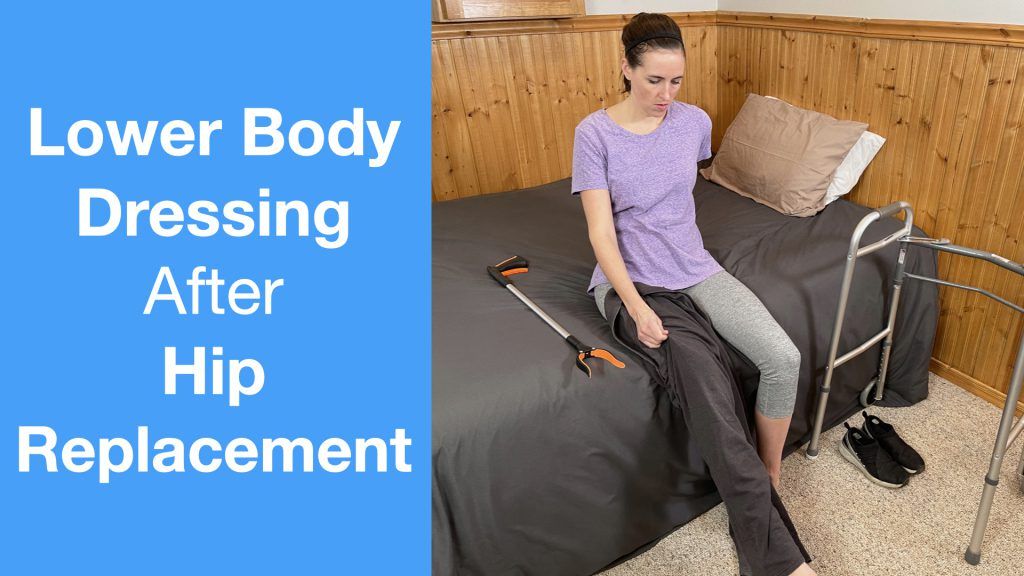 Recovering from hip replacement surgery (or similar traumatic injury) comes with its challenges, especially when it comes to everyday tasks like getting dressed. While your mobility may be temporarily limited, dressing your lower body can be made much easier with the right strategies and tools. This …
A Complete Guide to Lower Body Dressing After Hip Replacement Surgery Read More »