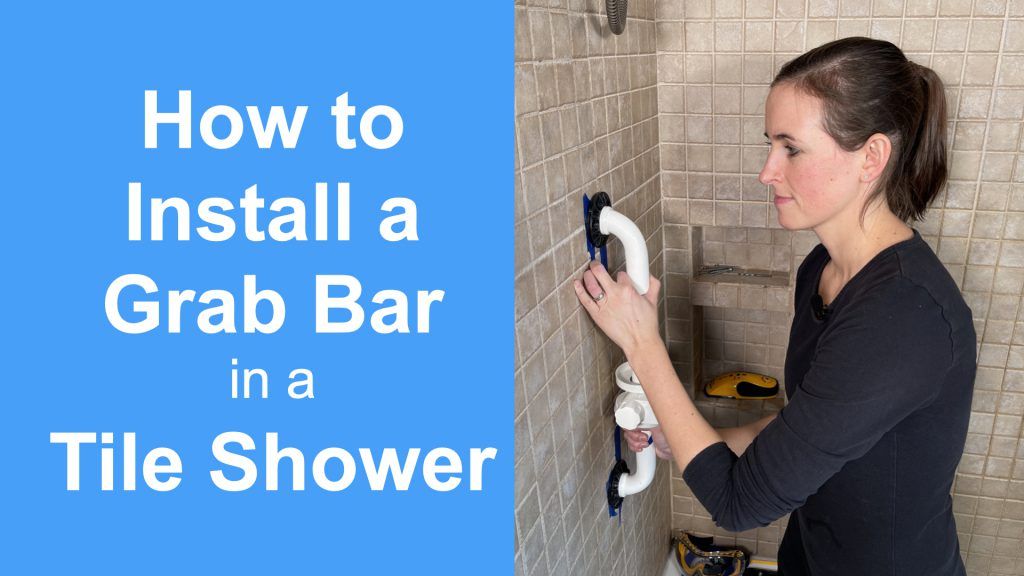
Do you want to put a grab bar in your shower, but your shower is a tile shower?
Not sure how to do it?
I rave about grab bars all the time. They are one of the simplest and best ways for patients to have safety in their home or communities.
Showers are a common spot for grab bars because they are common place for safety concerns in homes and communities. So, as an OT, I would often recommend to patients to add a grab bar to their showers. However, many of my patients had tile showers and would wonder if it is possible to add a grab bar to a tile shower.
Of course it is! And I’ll show you how.
This post provides detailed instructions on how to install a vertical grab bar (Ponte Giulio 18″ Vinyl Coated Grab Bar with Hand Held Shower Head Holder) in a tile shower. We will go over the supplies needed, some tips for drilling tile safely, and steps to install the actual grab bar.
If you prefer a video how-to, please check out my video on my YouTube Channel!
Overview
Estimated Time: 45 Minutes
Estimated Cost: $100 USD
Please note: Before we begin, you need to make sure you follow all the instructions and warnings provided by the manufacturer. The steps below are only to provide guidance with installing or assembling equipment, but you should always follow the warnings and instructions provided by the manufacturer and always speak with your medical team before adding new equipment to your routine.
Disclaimer: Always talk to your medical professional before deciding or changing the medical equipment that you utilize and how you should use it.
Supplies Needed
- Ponte Giulio 18″ Vinyl Coated Grab Bar with Hand Held Shower Head Holder
Tools needed


- Pencil
Steps
- Organize Tools and Supplies
- Find Wall Studs and Avoid Water Lines
- Mark Grab Bar Placement
- Pre-Drill Holes for Mounting
- Apply Silicone
- Screw the Grab Bar into Position
- Place Flange Covers
Step 1: Organize Tools and Supplies
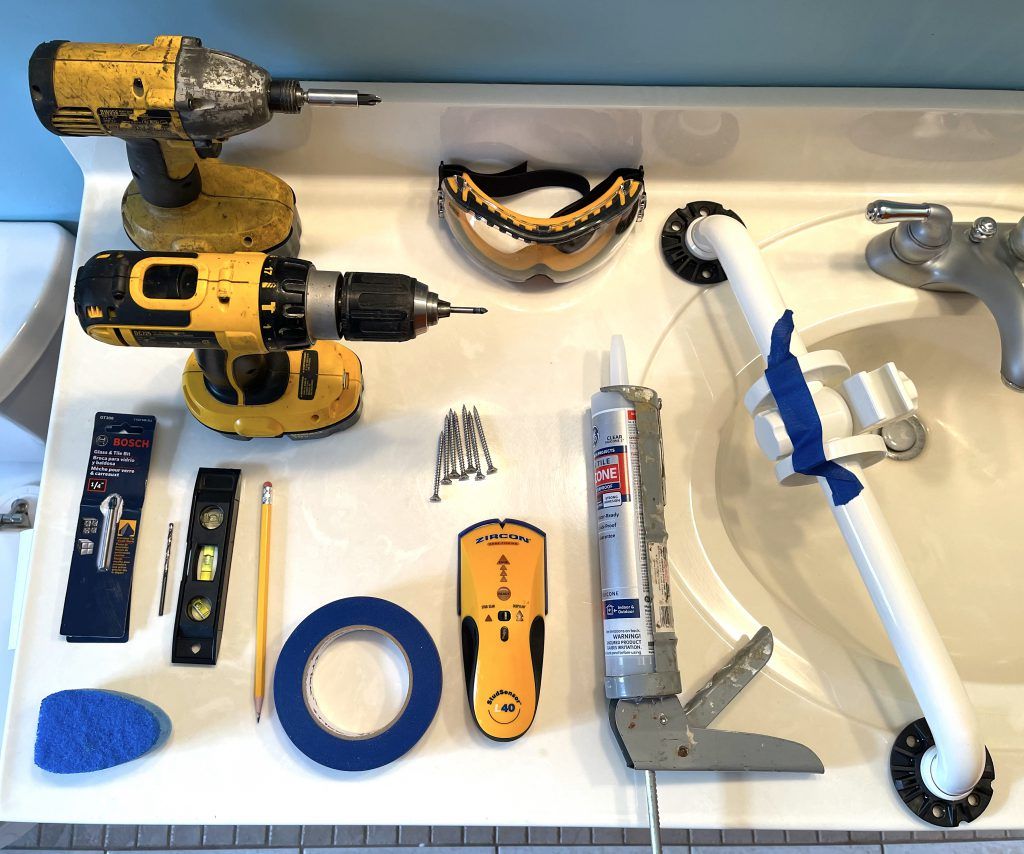
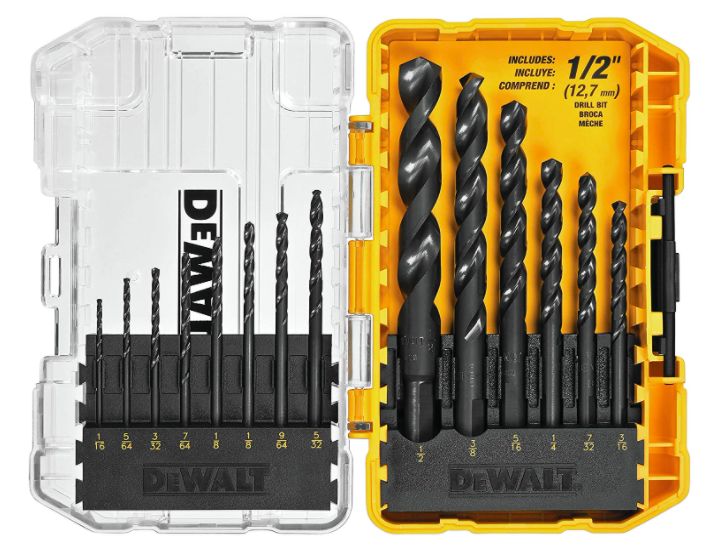
For this project, you’ll need quite a few tools, but they are all commonly found in a basic household toolkit. A drill driver is going to be used to pre-drill holes into the tile (a 1/4 inch (6mm) drill bit to go through the tile and an 1/8 inch (3mm) bit for the wood). An impact driver will be used to fasten the grab bar in place. An impact driver is not required. You can use a normal drill driver. An impact driver is simply nice for fastening screws.
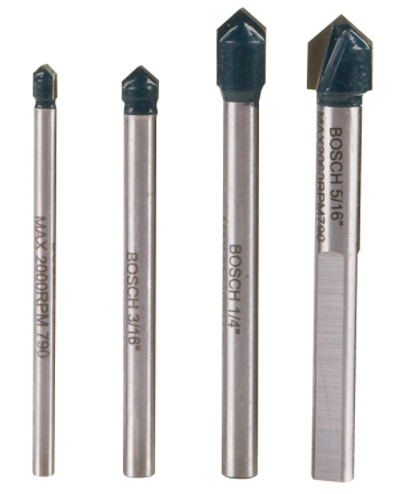
The drill bit that I will be using is a carbide tip drill bit and is meant for drilling in tile and link is included above. A “normal” high speed steel drill bit may work, but is not recommended.
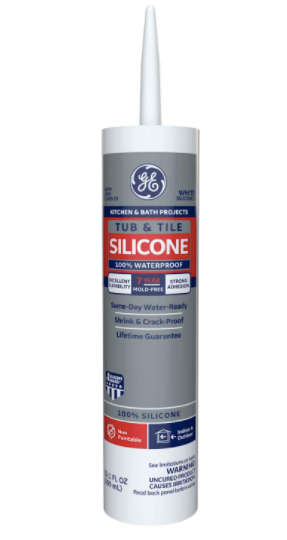
The silicone sealant is to prevent any water from leaking behind the grab bar once it is installed.
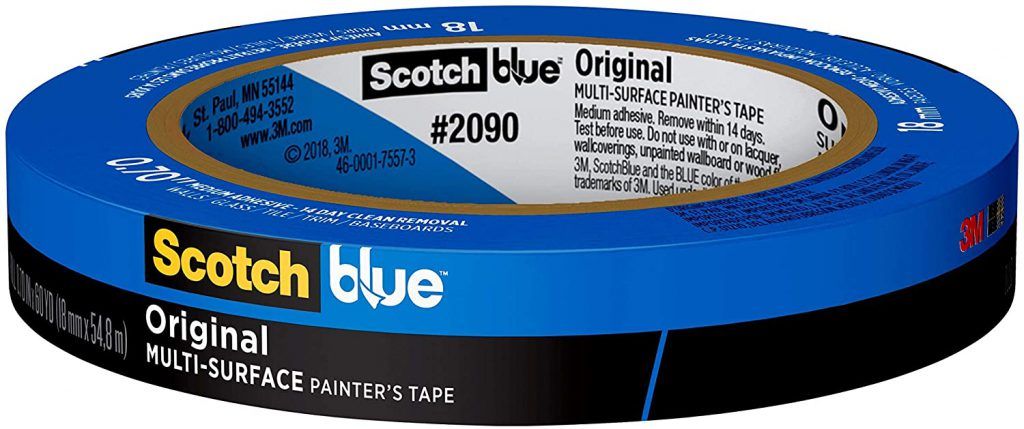
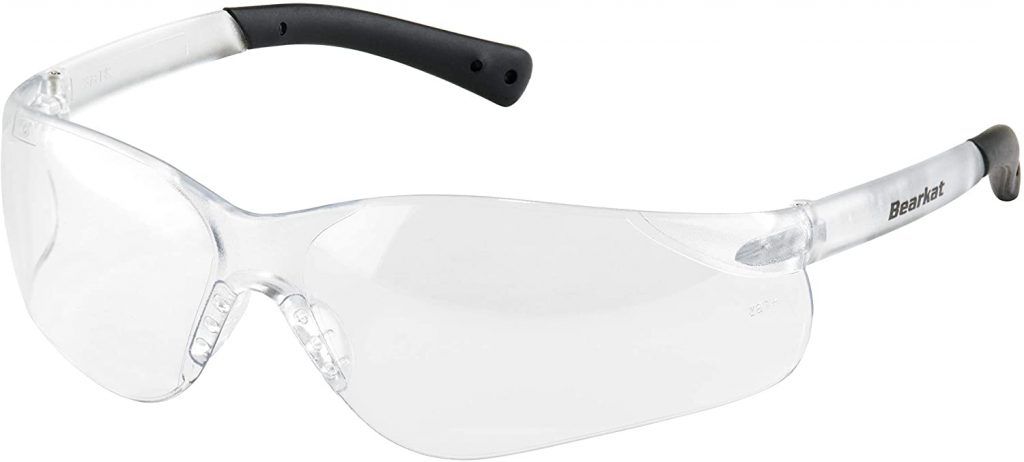
A stud finder, painters tape, and a pencil will help us find and mark the location of our studs. The screws are needed to fasten the grab bar to the wall. Safety glasses are also recommended any time you are using power tools.
The grab bar I chose to install is a Ponte Giulio 18″ Vinyl Coated Grab Bar with Hand Held Shower Head Holder.
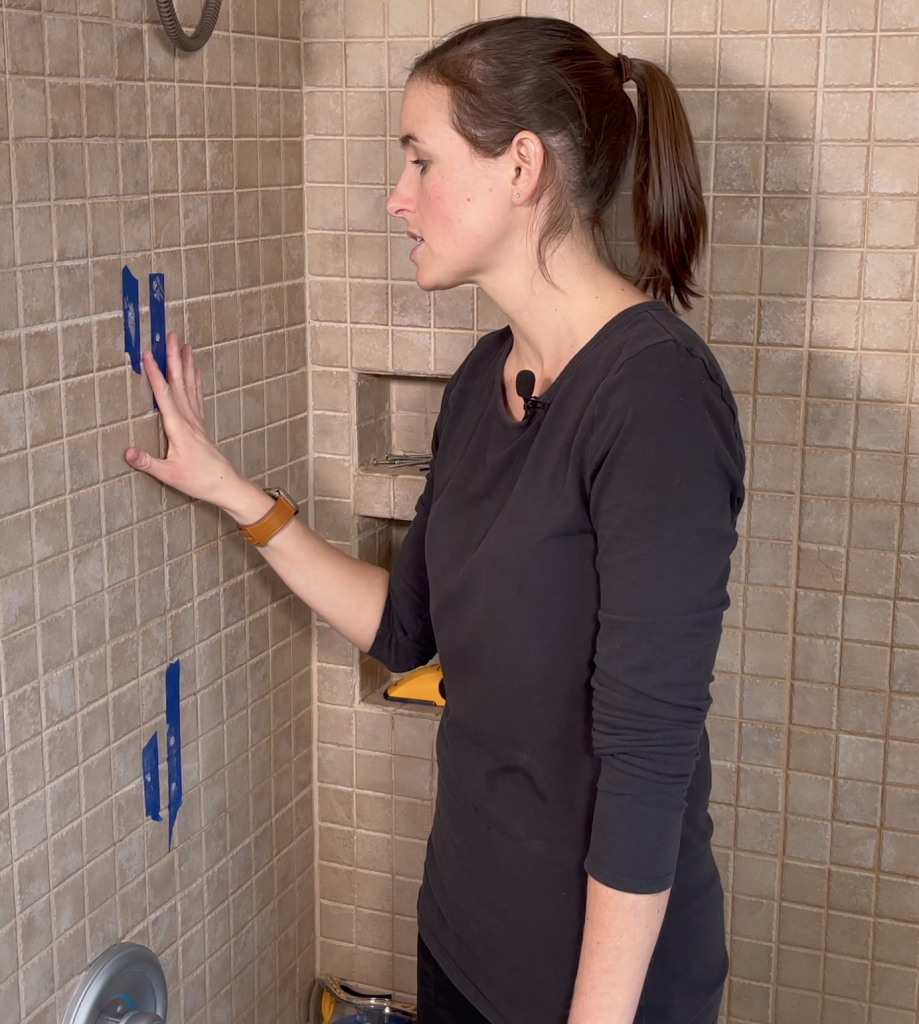
Step 2: Find Wall Studs and Avoid Water Lines
Using the stud finder, find the location of your wall studs. Mark both edges moving from right to left till you hit the edge of a stud, then left to right until you find the other edge. Use painters tape to give you a better surface to write on if your shower walls are slick.
It is very important to be sure you know where the studs are and that you avoid any water lines.
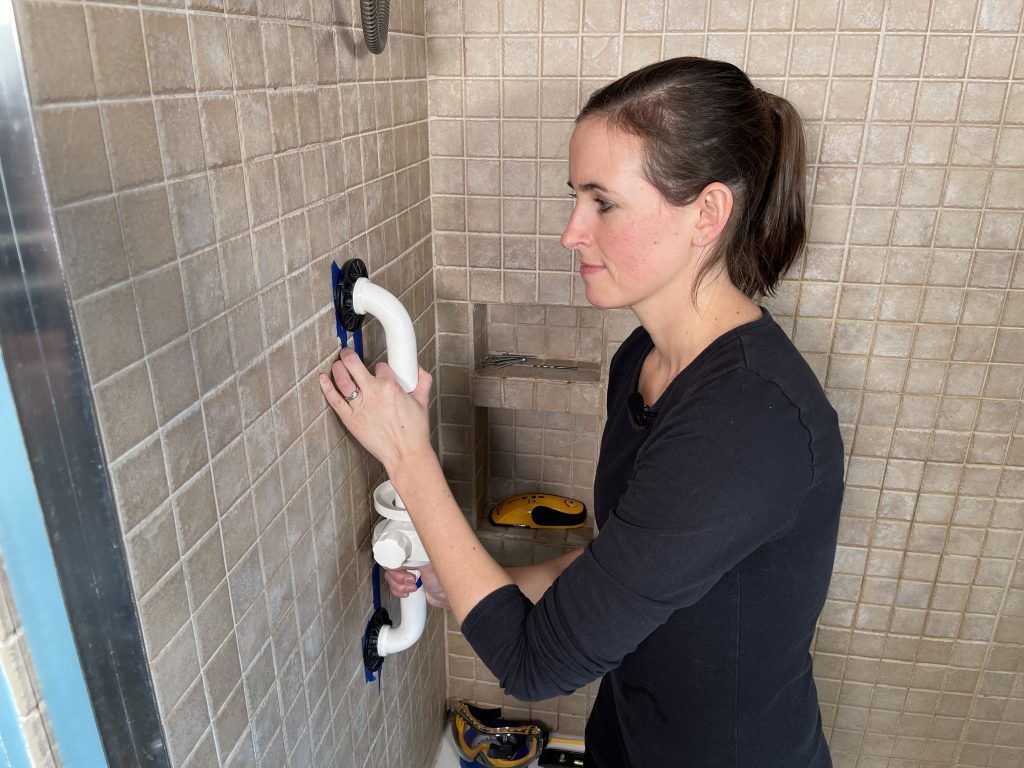
Step 3: Mark Grab Bar Placement
Once the studs are marked out, hold up the grab bar to find your preferred placement. This position could be vertical, horizontal, or at an angle across two studs. Use the painters tape to mark out the position of the grab bar and your pencil to mark the holes for the screws on the tape.
Important: To ensure the proper safety and weight capacity of the grab bar, always follow the mounting instructions provided by the manufacturer.
In our case, the manufacturer had a minimum recommendation of making three holes for mounting into the stud.
The painters tape has an additional benefit. In the next step, we will drill holes for the screws. The painter’s tape will also help your drill bit grip and prevent it from “walking” on the tile. The paint will help make your holes neater and easier to create.
If possible, I would suggest marking holes for you grab bar on grout line instead of a face of the tile. The the grout is much softer than the tile face and will be easier to drill into than the tile.
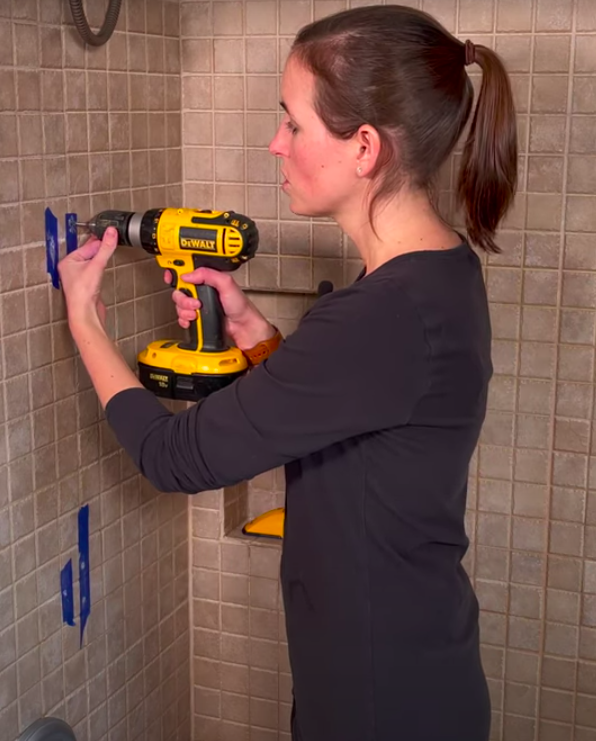
Step 4: Pre-Drill Holes For Mounting
Before you can mount the grab bar to the shower with the screws, you will need to pre-drill holes for the screws to go in. Pre-drilling the mounting holes will lessen the likelihood of cracking a tile, splitting a stud, or stripping a screw.
The process of drilling the holes includes drilling a clearance hole through the tile and then a small pilot hole into the stud. We will drill the 1/4 inch (6mm) hole into the tile. When drilling into tile, it is a good idea to keep a damp sponge nearby to keep the drill bit moist. Dabbing the drill bit with the sponge will help keep the bit cooler and lower the risk of cracking your tile.
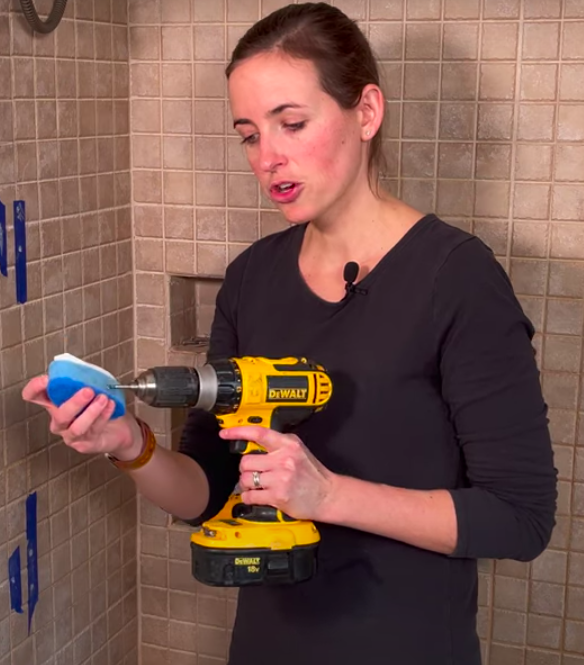
With safety goggles on, line the drill bit up with the pencil mark for the hole and begin the drilling slowly at first. Apply a gentle, consistent pressure going for about 30 seconds at a time between moistening the bit to make sure that it’s always staying cool. Go straight in until you hit the stud behind the tile. There is a small mark on most of these bits that usually tells you about the width of your tile.
Continue this process again until all your mounting holes are drilled through the tile.
Next, switch the drill bit out for the 1/8 inch (3mm) wood drill bit. Center the wood drill bit in the mounting hole you just drilled into the tile. Again, drill slowly into the stud. Keep drilling until you feel the screw has enough depth to secure into the stud through the hole.
I recommend every so often throughout this process to pick up the grab bar and make sure that you are still going to hit right in the center of the mounting holes.
Remove the tape and evaluate how the tiles look. Make sure there are not any broken tiles. I had a little corner crack in one tile, but it should be okay because we are cover all of this area with flange covers.
Step 5: Apply Silicone
Next, apply the silicone to the mounting holes. You do not need a lot of silicone; about a dime size amount is all you really need. Inject a tiny bit into each hole and wipe with a piece of paper towel to help push some of the silicone into the hole and smooth it out.

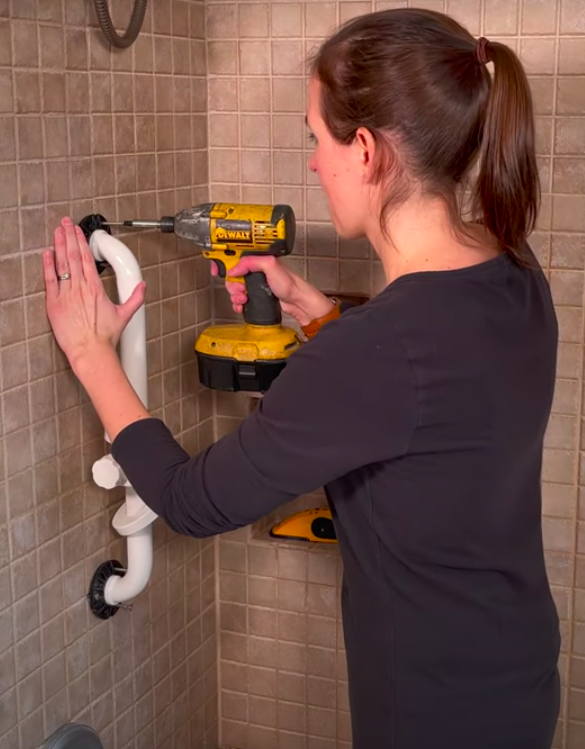
Step 6: Screw the Grab Bar Into Position
Once all the silicone is in place, we want to mount our grab bar in position.
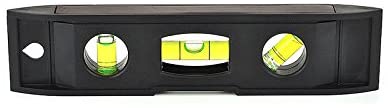
We are going to line up our holes and hand apply the screws. We can hand apply the screws since we pre-drilled the mounting holes. Twisting the screws in by hand first will hold the bar in place to help keep it straight while at the same time allowing you to make slight adjustments in position. Use your level again to ensure the grab bar is plumb/level.
Once your happy with the position we are going to use the impact driver to tighten down all six screws. A impact driver isn’t necessary, but does make the job easier.
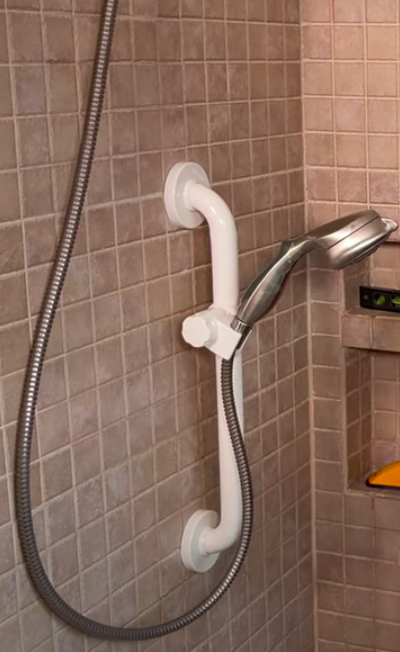
Step 7: Place Flange Covers
Place the flange covers over the flanges on the grab bar. The flange covers simply click into place on the top and bottom of the bar and provide it with a clean, finished look.
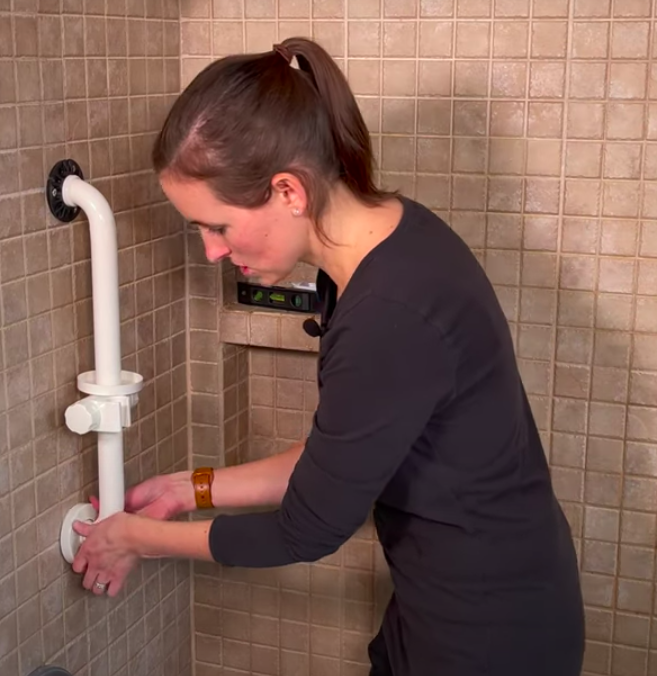
That’s it! Your grab bar install is done!
Before someone with limited mobility attempts to use the grab bar, it is a good idea to give it a safety check. Give the grab bar a good pull to ensure the grab bar does not move or flex. It should be nice and secure.
You now have a safe, secure grab bar available in your tile shower. Hope this post was helpful in how to install a grab bar in your tile shower.
*all prices are at the time of publishing
Note: This post contains affiliate links that provide a small commission without any added cost to the user.
More Recent Posts…
- How to Sleep After a C-Section or Abdominal Surgery

 Recovering from a C-Section, appendectomy, abdominoplasty, or other abdominal surgery can feel overwhelming, especially when it comes to something as essential as sleep. With a tender incision and limited mobility, finding a comfortable position may seem impossible—and yet, proper rest is critical for healing! In this …
How to Sleep After a C-Section or Abdominal Surgery Read More »
- How to Get In and Out of the Car after Hip Replacement
 Getting in and out of a car after a hip replacement can feel like navigating an obstacle course. Ensuring you move safely and avoid unnecessary strain on your healing hip is essential for a smooth recovery. Whether you’re heading to a follow-up appointment or simply enjoying …
How to Get In and Out of the Car after Hip Replacement Read More »
- A Complete Guide to Lower Body Dressing After Hip Replacement Surgery
 Recovering from hip replacement surgery (or similar traumatic injury) comes with its challenges, especially when it comes to everyday tasks like getting dressed. While your mobility may be temporarily limited, dressing your lower body can be made much easier with the right strategies and tools. This …
A Complete Guide to Lower Body Dressing After Hip Replacement Surgery Read More »