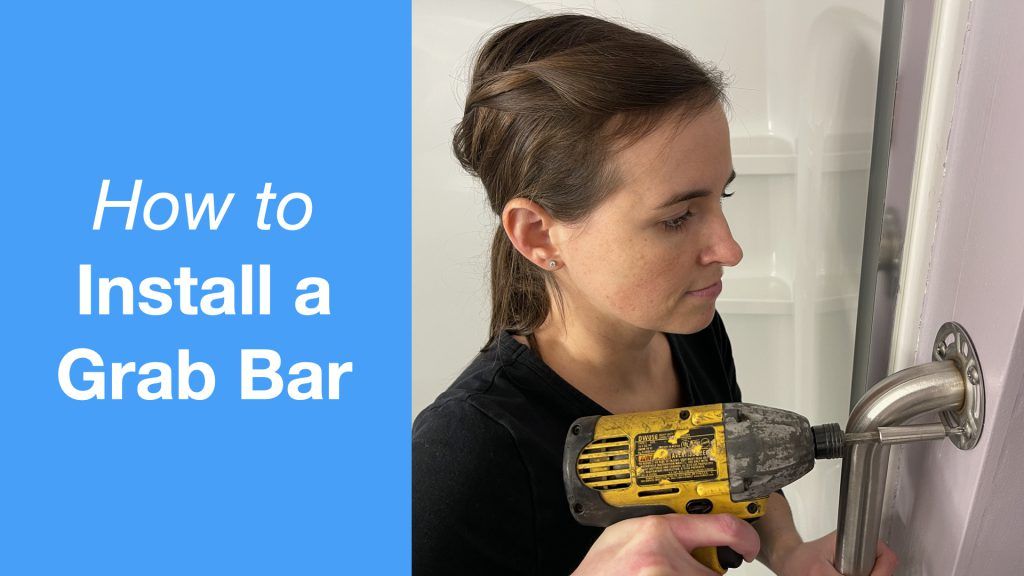
Know you need to install a grab bar? Don’t know where to start?
Worry no more, in this post, I will describe how to you can install an inexpensive grab bar in your bathroom easily with a few simple tools and techniques.
Grab bars are essential to providing a safe bathroom environment. A securely applied grab bar can significantly reduce the risk of falls and support improved transfer independence.
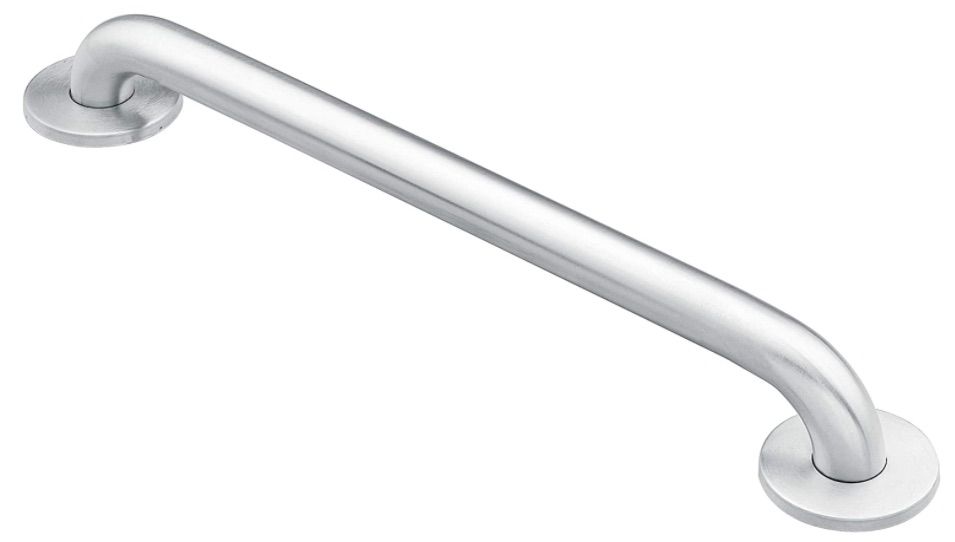
This post provides detailed instructions on how to install an inexpensive, 24-inch (60 cm) Moen grab bar vertically next to a shower entrance. This grab bar is low cost and relatively simple to install.
This installation will require a few tools, for example, a drill and screw driver, but I can assure you, the process is straightforward and you do not need to be master contractor to install this grab bar. You do, however, need to follow a few simple safety guidelines.
If you prefer a video how-to, please check out my video on my YouTube Channel!
Overview
Estimated Time: 30 Minutes
Estimated Cost: $25* USD
Please note: Before we begin, you need to make sure you follow all the instructions and warnings provided by the manufacturer. The steps below are only to provide guidance with installing or assembling equipment, but you should always follow the warnings and instructions provided by the manufacturer and always speak with your medical team before adding new equipment to your routine.
Supplies
Tools
- Level
- Pencil
Steps
- Mark Grab Bar Placement
- Gather Tools and Supplies
- Locate Stud
- Mark Mounting Holes
- Drill Pilot Holes
- Screw in Grab Bar
- Finishing
Step 1: Mark Grab Bar Placement
Before you install a grab bar, it is important that you pick the correct spot to place your grab bar.
There are a lot of considerations that go into how to decide grab bar placement; far too many to cover in this post. Luckily, we covered this topic in another post already! I highly recommend you read that first if you need advice on where to place your grab bar.
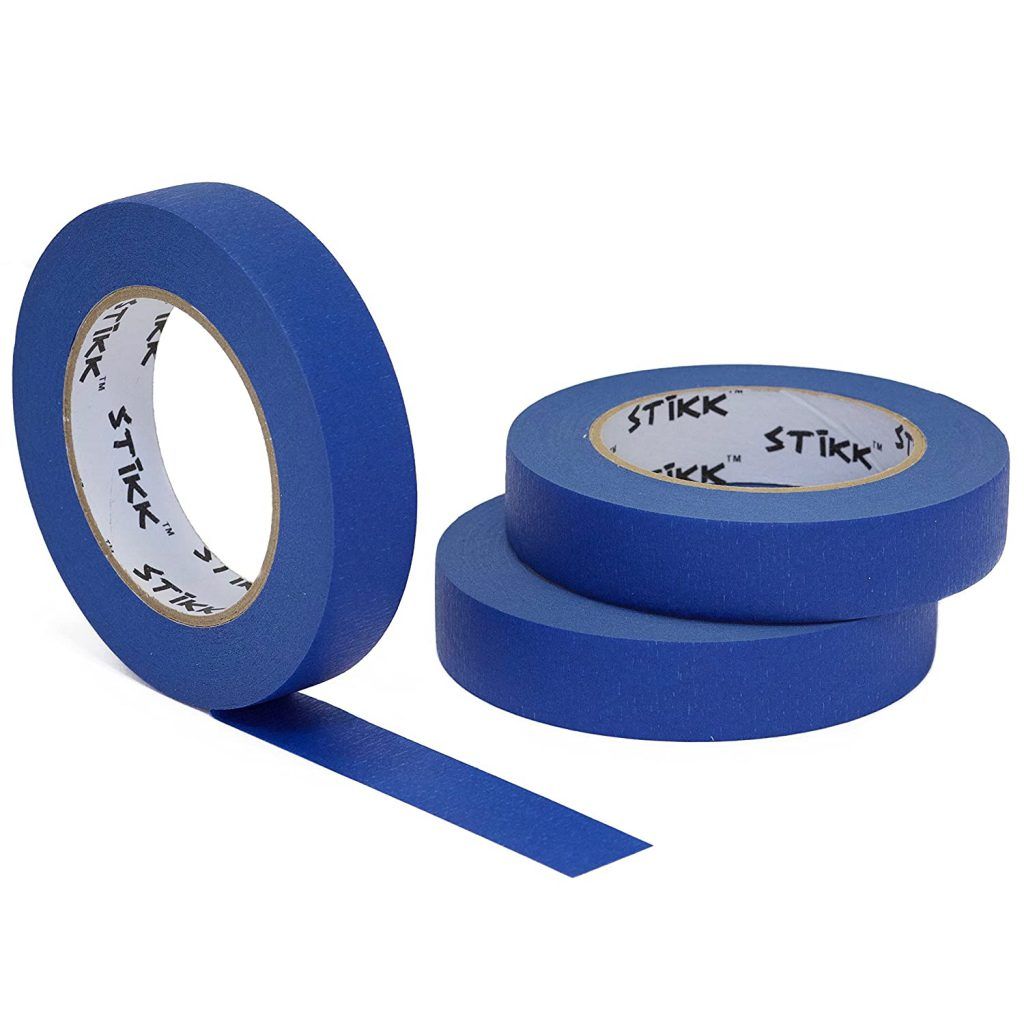
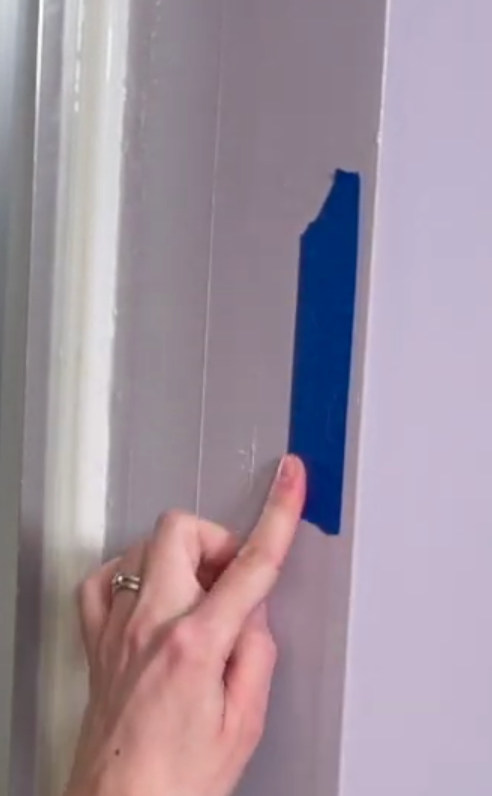
Mark the spot where you want your grab bar to go with a line of blue painter’s tape to help you visualize the final position of the grab bar. Once you have decide the final placement, you can remove the blue painter’s tape (but keep it nearby…you’ll need it later).
We’ve have already decided to place our grab bar vertically on the wall just outside the shower entrance and marked it with blue painter’s tape.
Step 2: Gather Tools and Supplies
First things first, gather up all the tools and supplies that you will need to install the grab bar. You don’t want to start installing a grab bar and realize that you don’t have a tool or supply you need.
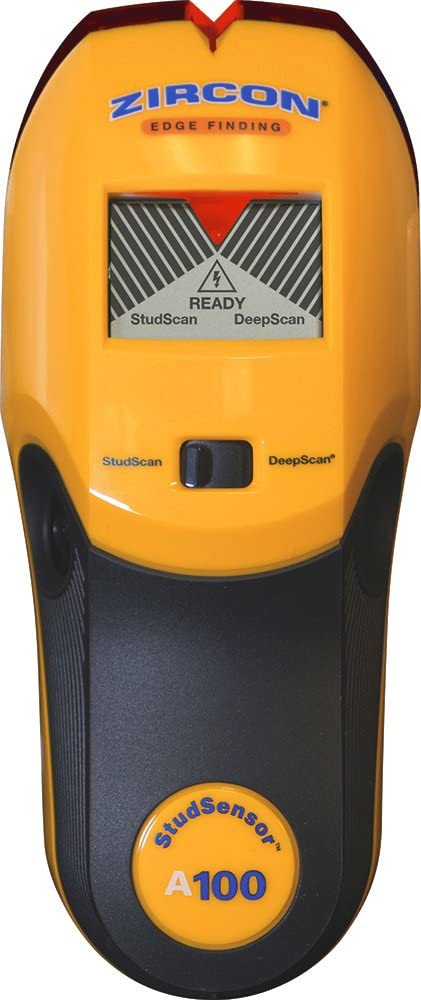
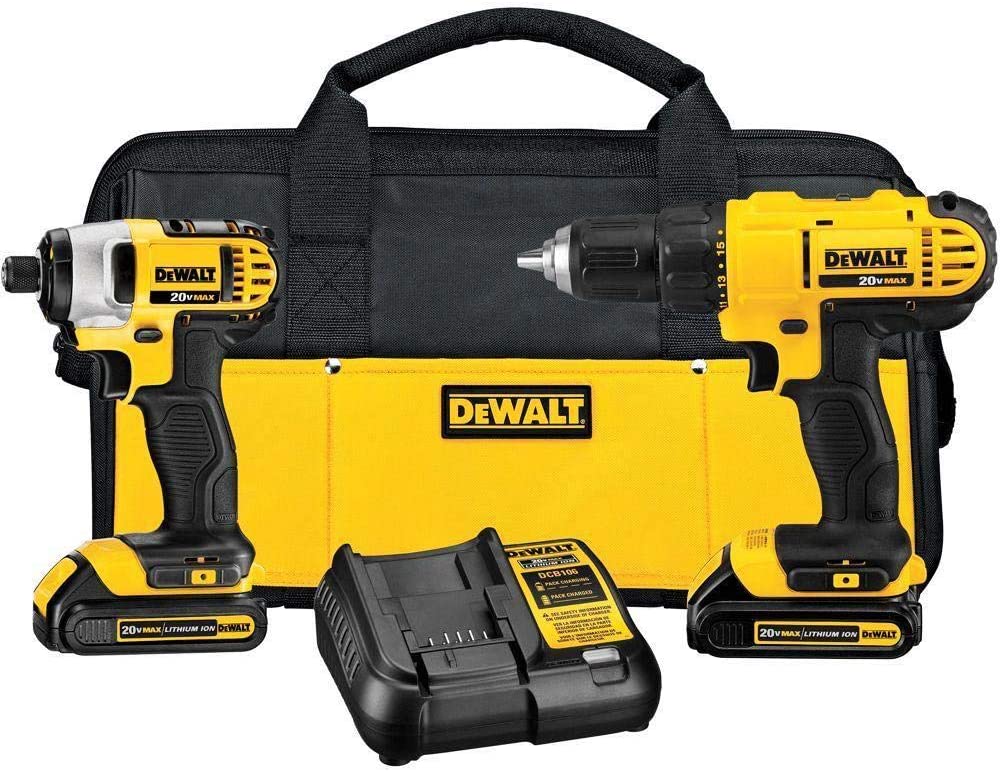
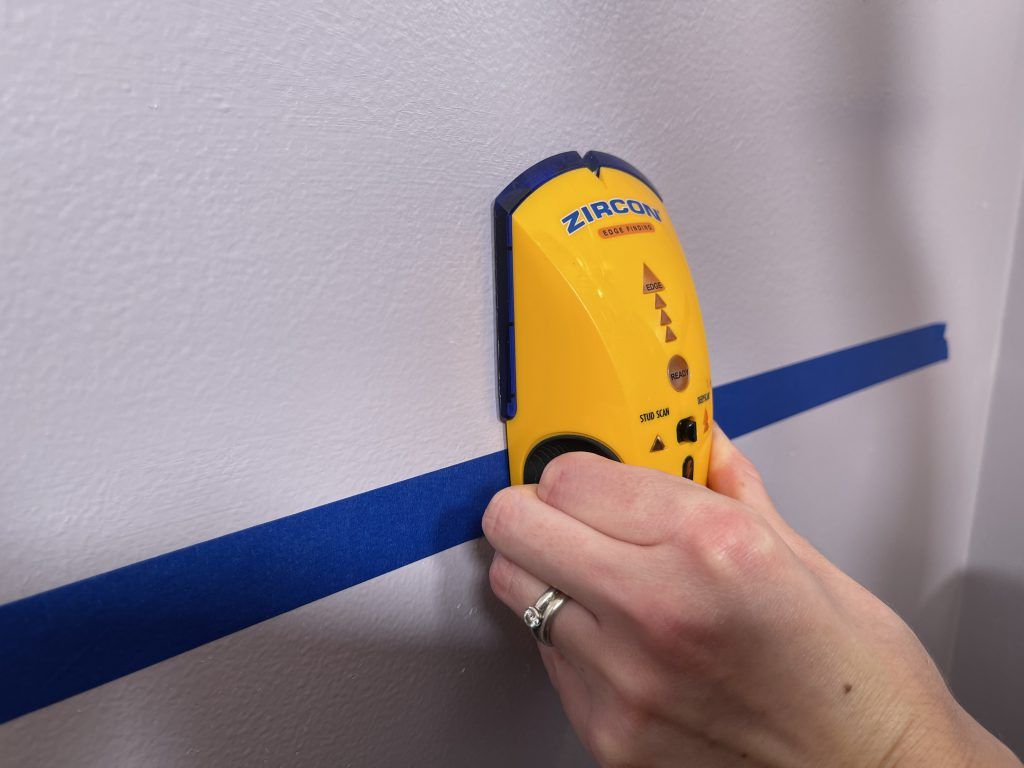
When you install grab bar, you need a stud finder. I use this with some additional referencing for measuring to figure out exactly where my studs are located.
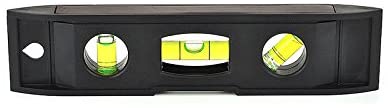
A roll of painters tape is good to mark out placement and the location of studs and makes it easy to write on smooth surfaces like tile. A good level is handy to make sure your grab bar is level and a pencil to mark your holes on the painters tape.
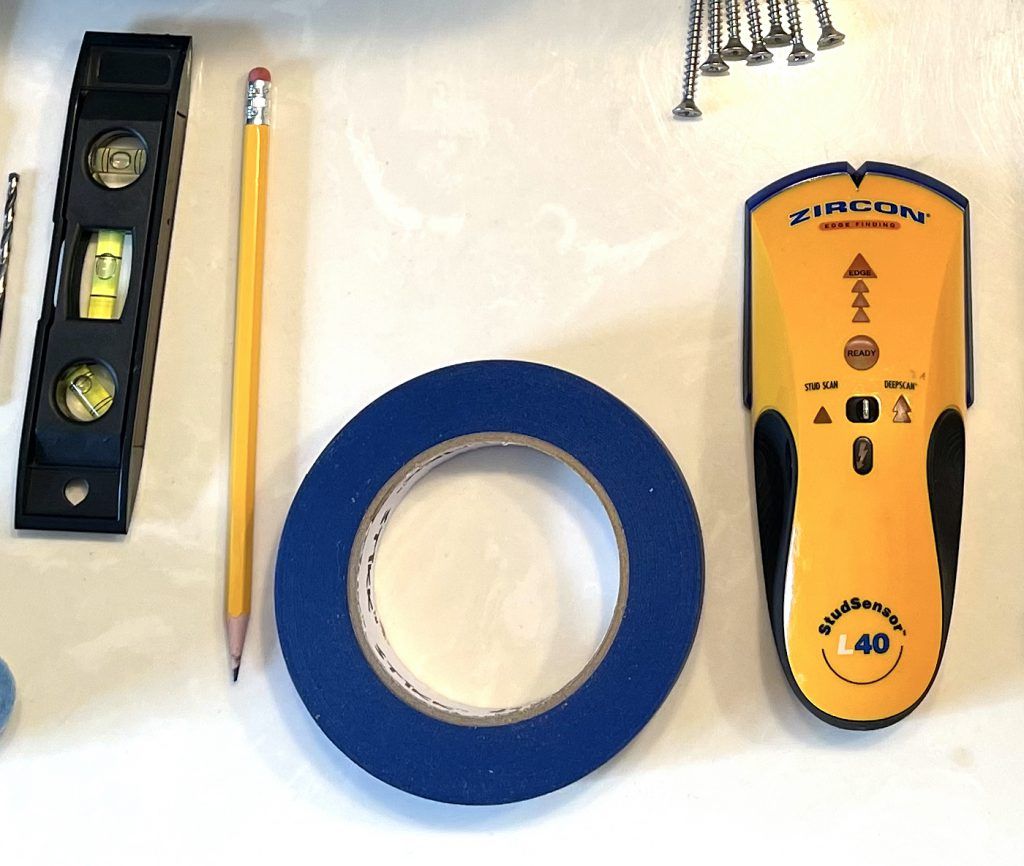
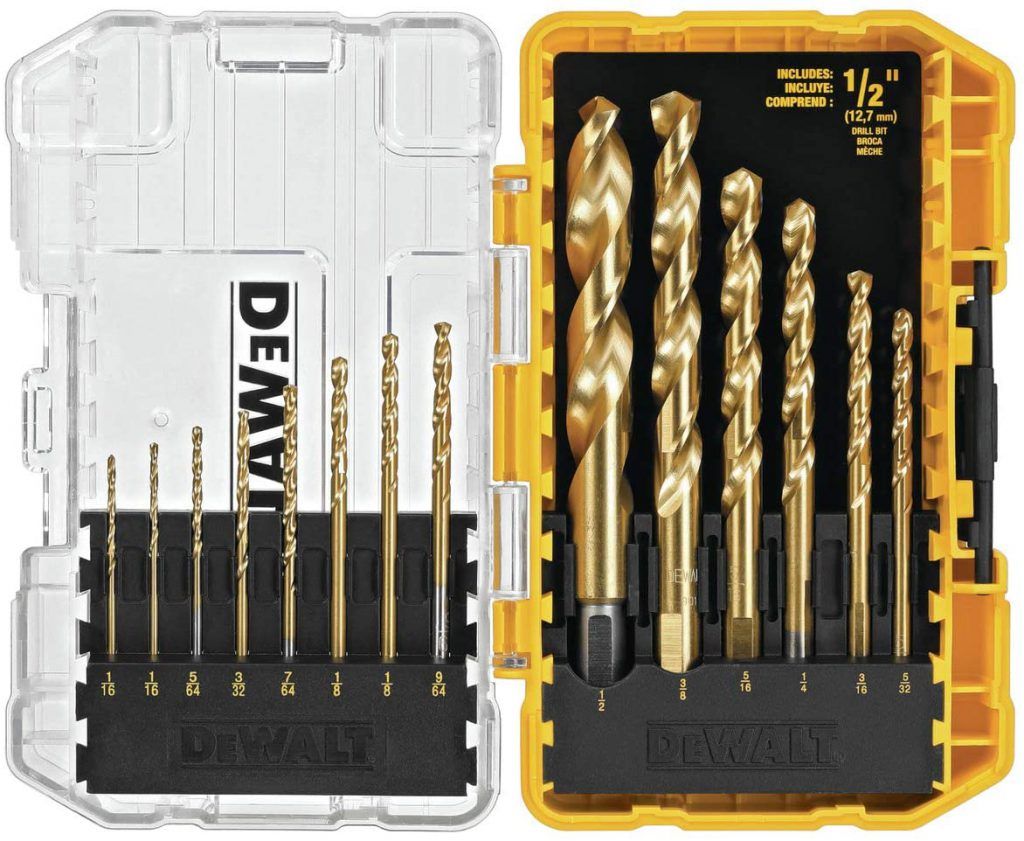
I used a drill driver with a 1/8th inch (3.175 mm for those using the metric system) drill bit to drill the holes into the studs for the screws. I also used an impact driver, which is optional, to fasten the screws in place.

Step 3: Locate Stud
First, you need to locate a stud for attaching the grab bar to. I located my stud using my stud finder.
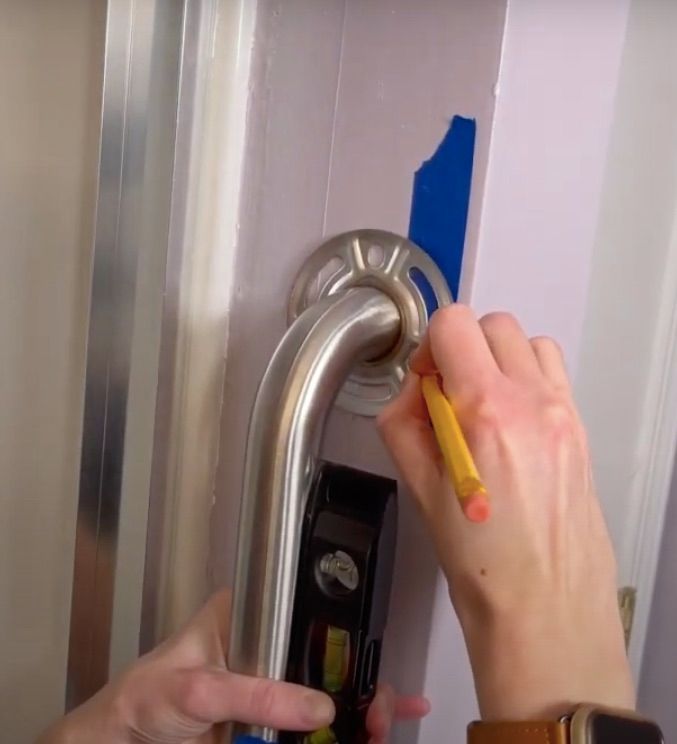
If you followed along in our first step, then you should still have painter’s tape on the wall where you wanted to install the grab bar. Remember how I said you would need painter’s tape again? Use painter’s tape to mark the edges of the stud. You can do this by either removing the tape that you used for marking the placement and using that or use new tape.
Step 4: Mark Mounting Holes
Grab your level, pencil, and grab bar. Hold your grab bar up against the wall with the top or bottom on the blue tape you used to mark the stud location, using your level to get it plumb (vertical).
Once that’s done, mark at least three holes through the grab bar flanges with the pencil. These marks will be used for drilling the holes which the screws will use for mounting the grab bar to the wall. Set the supplies down and move onto drilling the holes.
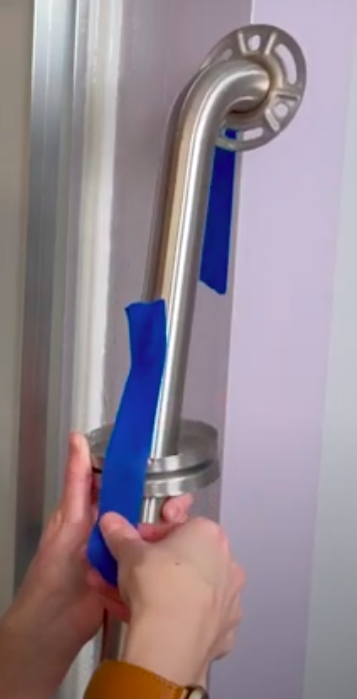
TIP: Use the painter’s tape to tape the flange covers in place somewhere on the bar to keep them from moving around and getting in the way.
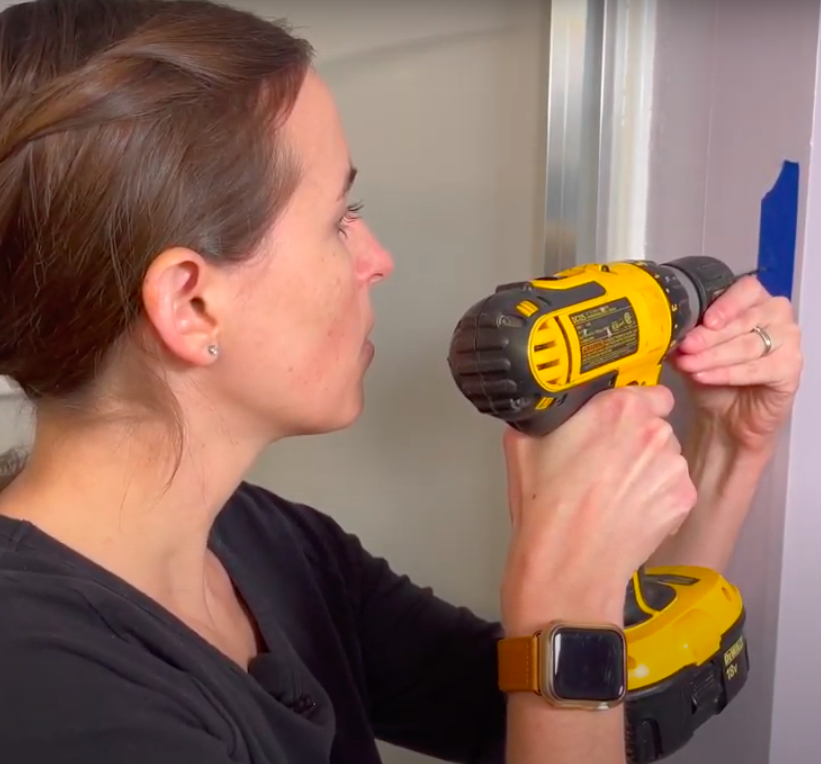
Step 5: Drill Pilot Holes
Using the drill and the 1/8″ drill bit, line up your drill bit on one of the pre-marked holes that you made in the last step and start drilling until you hit the stud and then reverse out. Do this for all of the holes.
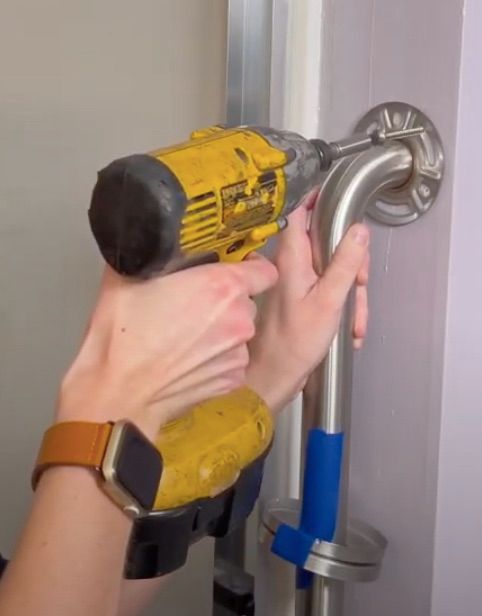
Step 6: Screw in Grab Bar
Now is time to mount the grab bar to the wall. Line up your grab bar with your holes and check to see if it’s vertical.
While holding it in place, hand start a screw on the top of the bar and finish screwing it in with your impact driver.
Do NOT screw all of screws to the top flange yet. You’ll want to make sure your grab bar is lined-up on top and bottom before you screw every screw to the wall.
After the first screw is in on the top, line up the bottom of the bar with its holes and check that it is vertical with your level. If it is (and it should be) drill a screw through one of the holes on the bottom. Check your the grab bar is plumb and level once again. If so, put in the rest of the screws and tighten them all down to wall.
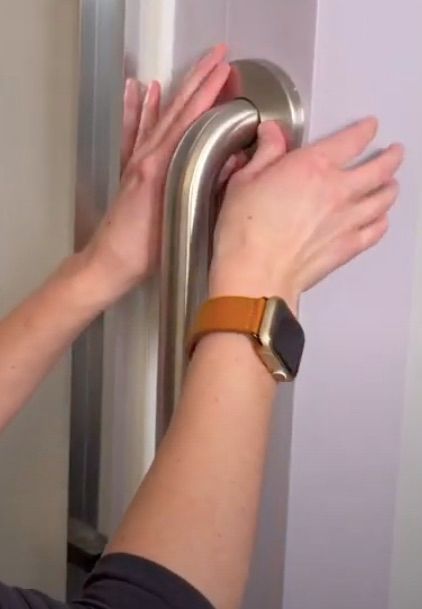
Give the grab bar a tug. The grab bar should be nice and secure.
TIP: An impact driver is not necessary, the drill with a phillips head screw bit will get the job done too. The impact driver just makes the job a bit easier.
Step 7: Finishing
Remove the tape from the flanges and snap them into place. Just like that, you now have a really nice solid grab point to help with stepping in and out of your tub and or shower!
*all prices are at the time of publishing
Note: This post contains affiliate links that provide a small commission without any added cost to the user.