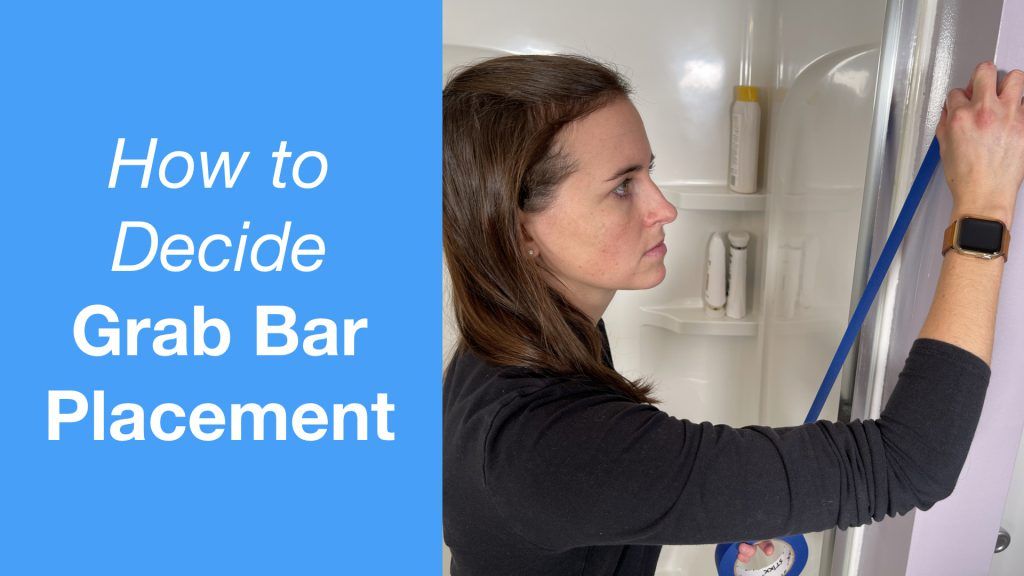
If you have never had to install a grab bar in a bathroom, the process of deciding where to place one can be intimidating.
You decided you need a shower grab bar, or a toilet grab bar or a bathroom grab bar. Maybe to help with stabilization during visits to the bathroom.
But where do you put the grab bars so that you maximize their usefulness for the person in need of help?
Don’t worry. There’s only two simple considerations that you need to figure out where to put your new grab bars and I’ll show you.
This post will highlight the strategies and supplies needed to help prepare the space for grab bar placement. If you would prefer to view a video about this topic please review this video on my YouTube Channel EquipMeOT.
Supplies Needed:
Contents
Grab Bar Placement: Planning
Grab bar placement requires two important considerations:
- WHO is using the grab bar
- HOW the bathroom is constructed and where will a grab bar be safely positioned.
Understanding who will be using these grab bars will be vital in positioning them for maximizing value. What are their limitations? How will they be using the bathrooms? What are their physical attributes (height, weight, etc.)?
Understanding how the bathroom is constructed, where studs are located, types of materials used for shower surrounds, and the space available will drive the remainder of your decisions for grab bar placement.
Let’s keep these considerations in mind while we evaluate the two most popular places in the bathroom for grab bars: the shower and the toilet.
First up, the shower.
Grab Bar Placement: Shower
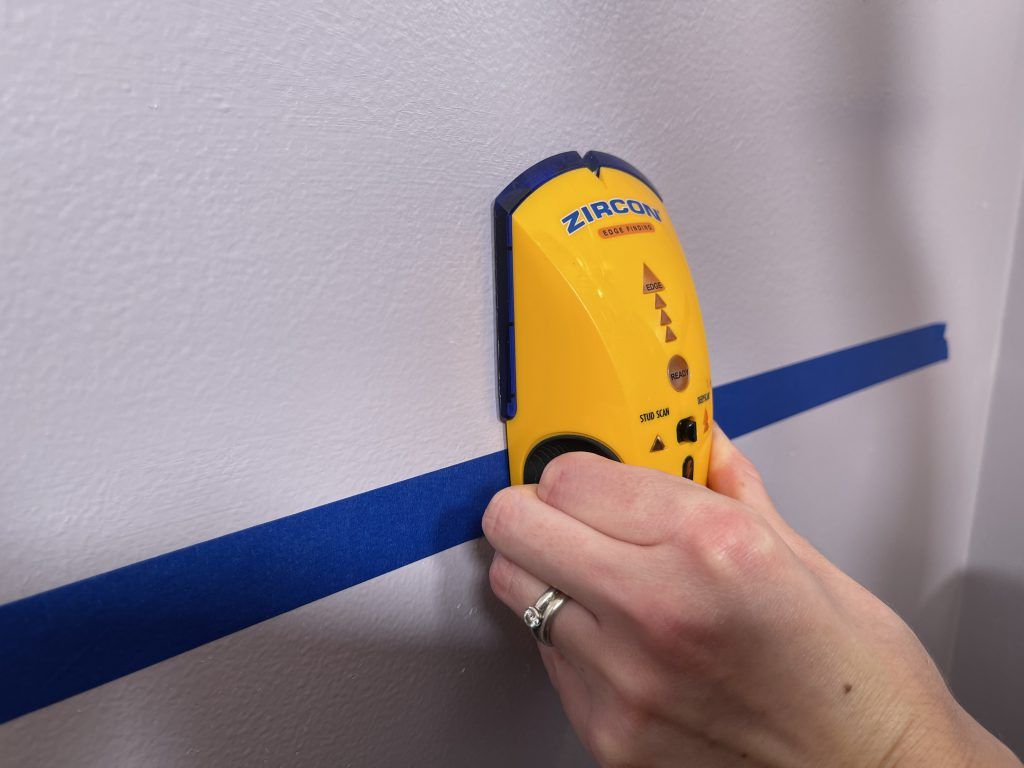
When evaluating a shower for grab bar placement, I start by assessing the layout of the shower. Where are the users stepping in and out, what type of surround (tile or plastic/fiberglass), and general wall stud location. The layout of the shower will guide the type of grab bar I select and where, realistically, I could place them.
For New Construction or Remodeling
If you are fortunate enough to be completing this task during the construction process, the grab bar placement can be configured before closing the walls by placing solid wood boards between studs where grab bars will be mounted. This is a wonderful option whether you plan to install the grab bars immediately or just want the option in the future. Plan ahead and save yourself a ton of time!
Shower Grab Bar Placement Recommendations
The standard grab bar placement recommendation is for 3 bars to be placed in the shower.
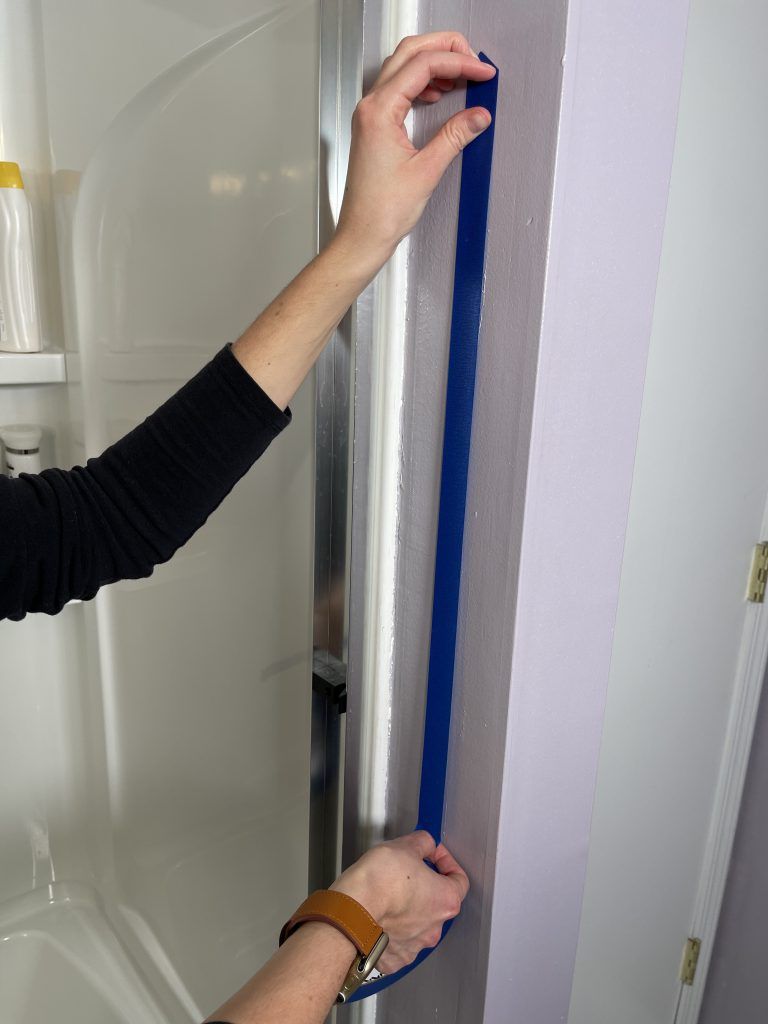
- One vertically at the exterior entrance of the shower
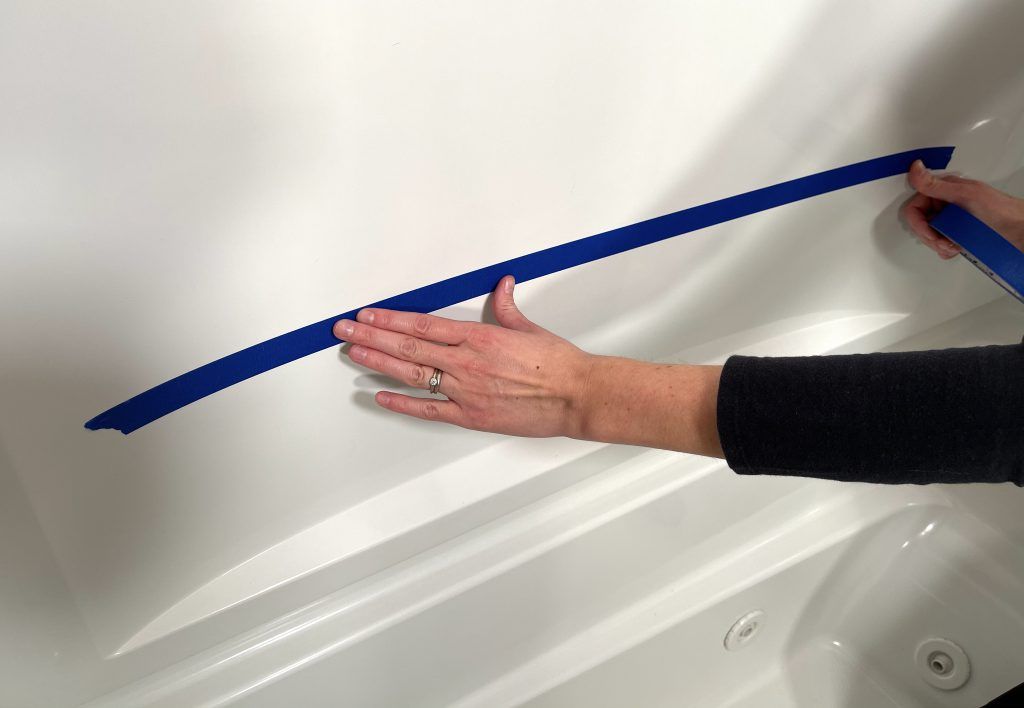
- One horizontally at the inside wall
- One vertically underneath the shower head.
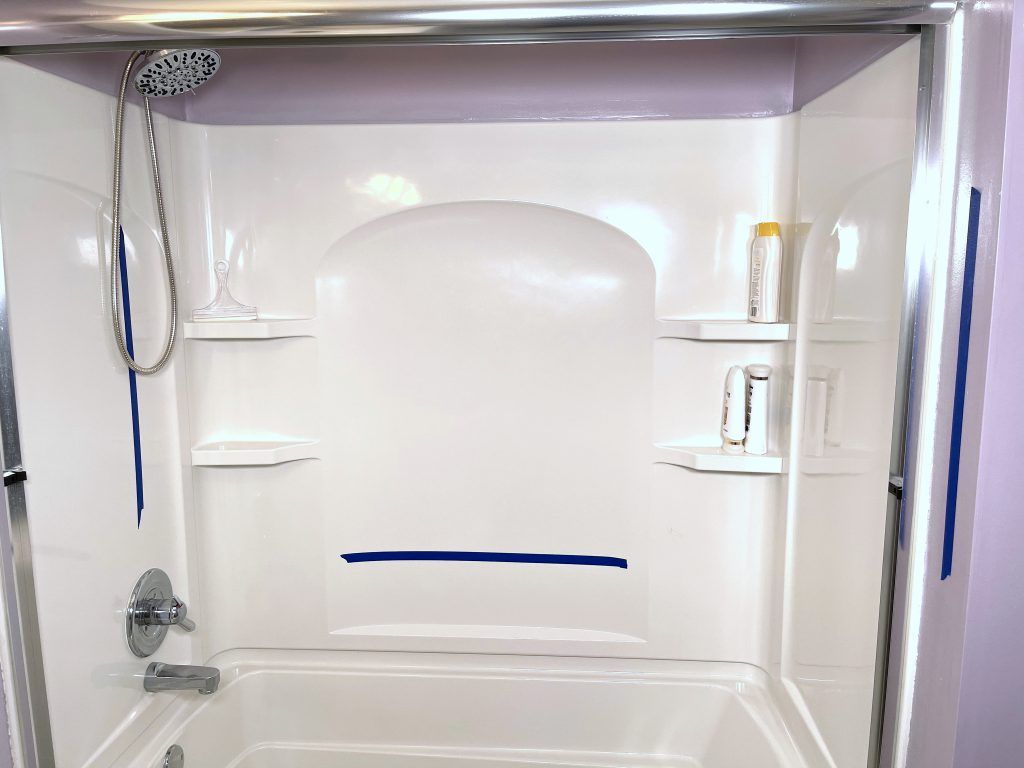
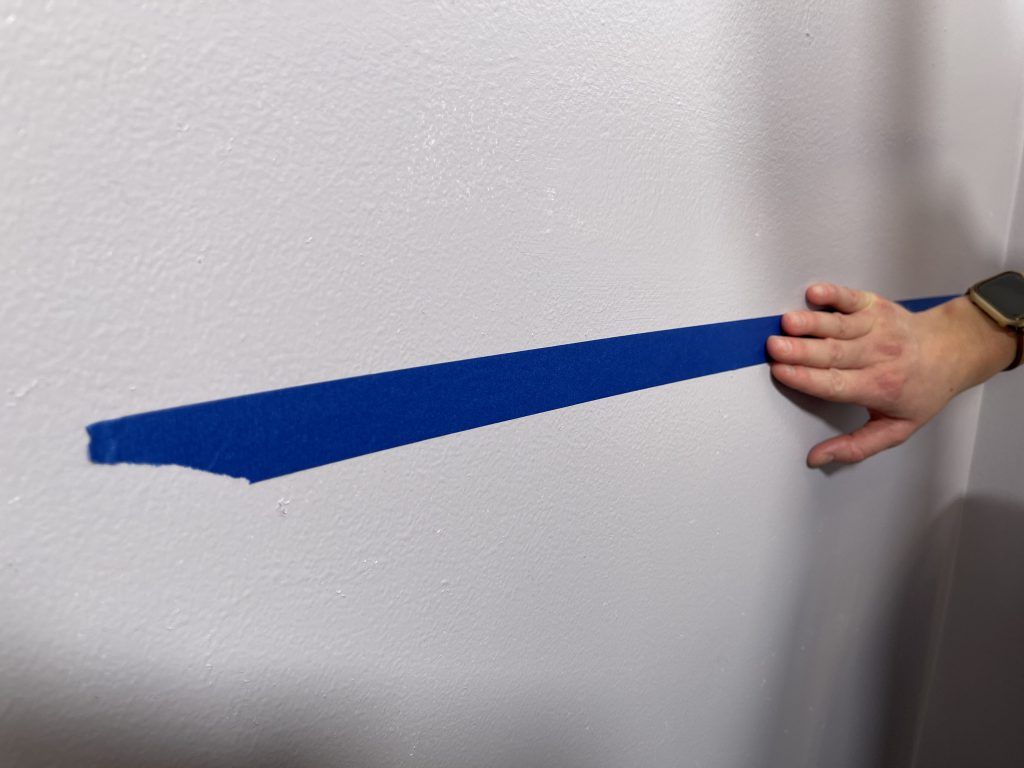
I use painter’s tape to mark the exact location that my user tends to reach for when completing their transfers. It is best to have the person present and able to simulate their transfer when completing the assessment. I like to select a longer grab bar (18″+) versus short for all positions.
Positioning a grab bar vertically is the most flexible due to the likelihood of a stud present the entire length of the wall.

However, for horizontal grab bars, a minimum length of 16″ and maximum of 32″ will give you the best chance of hitting 2 studs if your wall is constructed with standard stud spacing of 16″ on center.
Shower Grab Bar Placement: Plastic or Fiberglass Surrounds
A tip for plastic and fiberglass surrounds: If you cannot locate a stud with the deep scan setting on your stud finder, locate through a shared wall if possible. Plastic and fiberglass surrounds are particularly difficult to work with due to the space present between the studs and the surround. The best options for getting your grab bar securely into a stud is to either use a spacer kit (like this one) or access the studs from the opposite wall by opening the drywall and applying a board to drill into up against the back of the surround.
Grab Bar Placement: Toilet
For toiler grab bars, I’m going to be discussing grab bars that are placed on the wall. These grab bars are in contrast to the toilet safety rails which are mounted on the toilet themselves. If you are more interested in toilet safety rails, I have a blog post and video all about how to install toilet safety rails if you would like more information.
Toilet grab bars tend to easier to install because the access to a wall stud is significantly simpler to locate through the drywall. I recommend always getting both ends of the grab bar into two studs for safety.
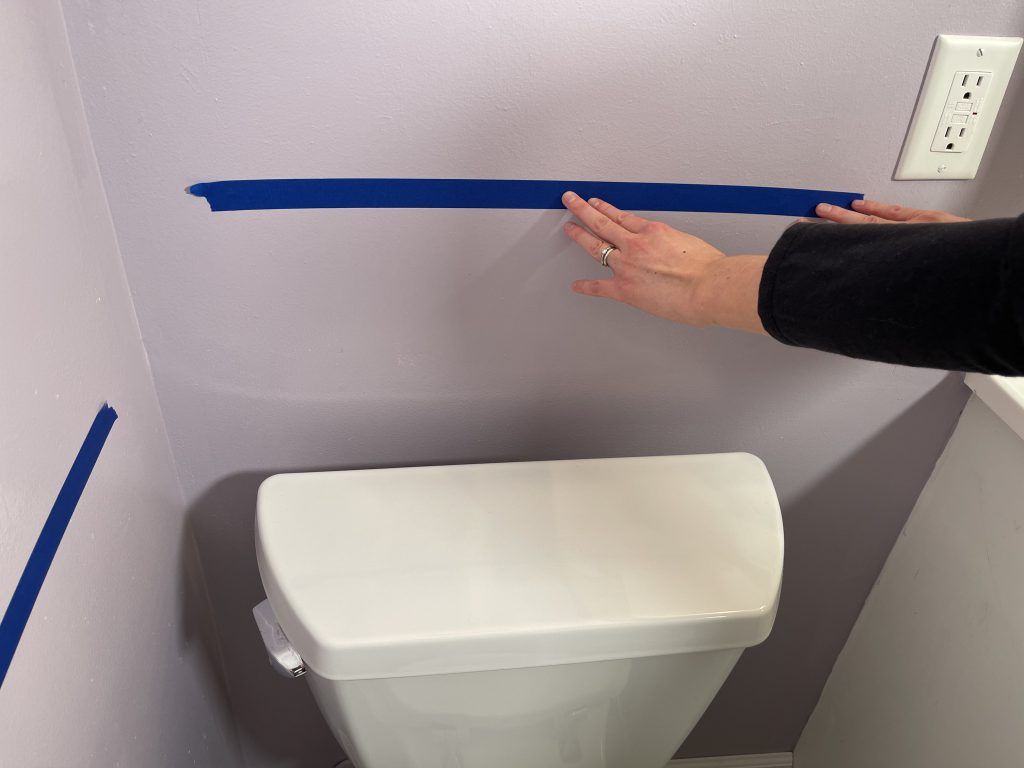
Use your stud finder to mark a few studs around the perimeter of the toilet with painters tape to assist with your decisions on exactly where the bars will be most useful to the users.
The standard positions for grab bars around the toilet are on either or both sides and behind the tank. These positions are all recommended to be horizontal and at a height appropriate to the height of the toilet and the height of the users. I recommend using 16″ or 32″ long grab bars for this use as to ensure greatest likelihood of hitting 2 studs.
Toilet Grab Bar Placement: If You Cannot Access a Wall Stud
If, you absolutely cannot hit a wall stud with one end of your grab bar, I recommend using a secure hollow wall grab bar mounting device like this or this. These work with many types of grab bars but typically are best suited for combining with their same brand.
NOTE: These hollow wall mounting devices require a deep cavity space (2.5-3″), so check ahead before forking out for these!
That’s it!
More Recent Posts…
- How to Sleep After a C-Section or Abdominal Surgery

 Recovering from a C-Section, appendectomy, abdominoplasty, or other abdominal surgery can feel overwhelming, especially when it comes to something as essential as sleep. With a tender incision and limited mobility, finding a comfortable position may seem impossible—and yet, proper rest is critical for healing! In this …
How to Sleep After a C-Section or Abdominal Surgery Read More »
- How to Get In and Out of the Car after Hip Replacement
 Getting in and out of a car after a hip replacement can feel like navigating an obstacle course. Ensuring you move safely and avoid unnecessary strain on your healing hip is essential for a smooth recovery. Whether you’re heading to a follow-up appointment or simply enjoying …
How to Get In and Out of the Car after Hip Replacement Read More »
- A Complete Guide to Lower Body Dressing After Hip Replacement Surgery
 Recovering from hip replacement surgery (or similar traumatic injury) comes with its challenges, especially when it comes to everyday tasks like getting dressed. While your mobility may be temporarily limited, dressing your lower body can be made much easier with the right strategies and tools. This …
A Complete Guide to Lower Body Dressing After Hip Replacement Surgery Read More »