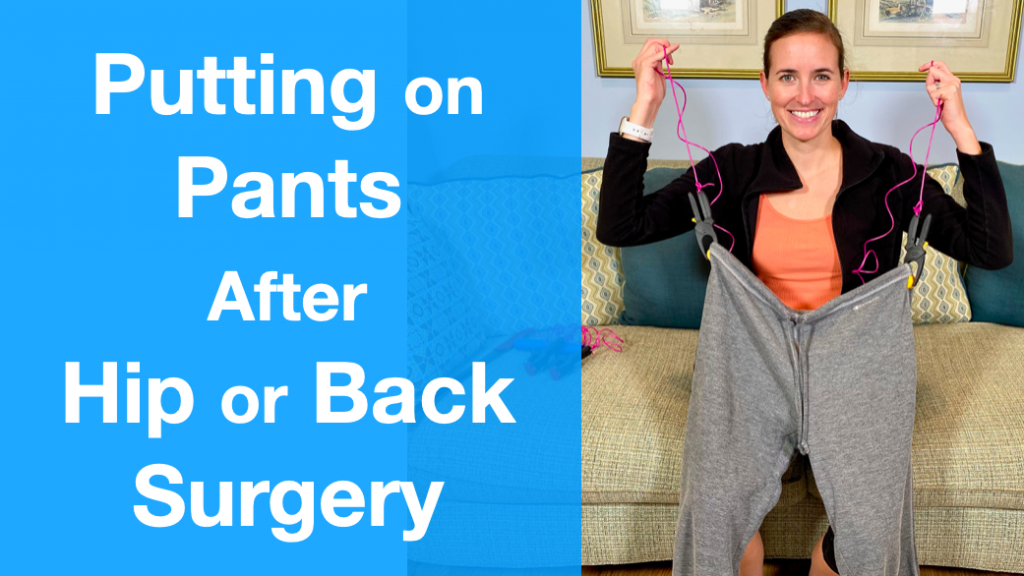
Recovering from back or hip surgery is difficult. The recovery can make even basic activities of daily living arduous tasks. One of these overlooked activities is…
How do you put on pants after back or hip surgery?
It can be a struggle to put on pants after surgery while trying to maintain your back and hip precautions.
I’ll show you an ingenious technique I learned from a patient that will make putting on pants after surgery a little easier.
If you like videos, you watch the video tutorial below I put together on this technique over at my YouTube Channel.
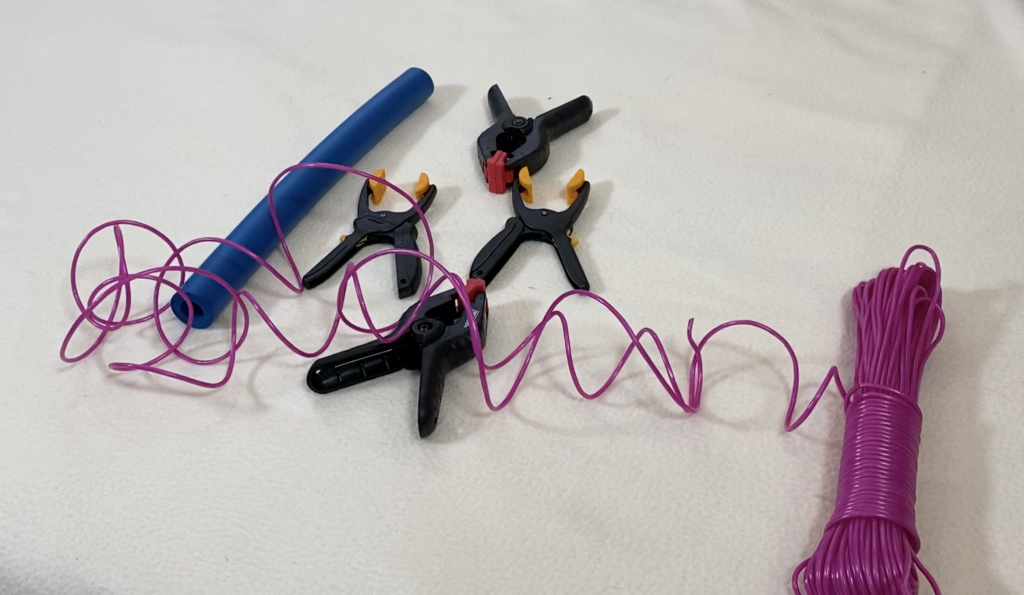
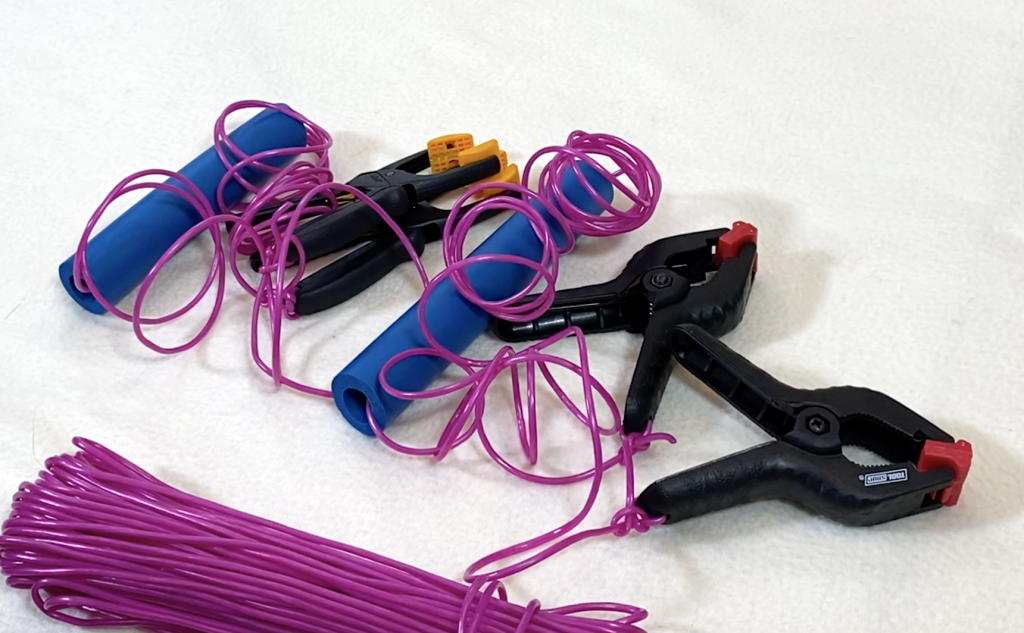
Putting on Pants After Back or Hip Surgery – Supplies Needed
- Hand Clamps x 4
- Prefer “racheting” style like these for easier grabbing
- Regular “spring” style like these will work too
- Rope
- You can use any variety of rope but I found plastic clothesline from the local hardware store worked great
- Cylindrical Foam
- We will cut one in half and use them as handles
- Scissors
This technique will involve use a set of hand clamps. You can find inexpensive “spring” style hand clamps at just about any hardware store.
However, I recommend the “racheting” style hand clamps because their design makes them easier to open and close for those who have issues with dexterity.
To try both, I made a pair of this DIY tools, one with racheting hand-clamps and one with the spring-style hand-clamps, but you only need to make one.
Putting on Pants After Back or Hip Surgery – Steps
- Measure and cut rope length
- Cut foam cylinder to length
- Slide rope through foam cylinder
- Tie rope to the hand-clamps
- Attach to pants
- Find comfortable sitting position
- Lower pants to the floor
- Slide feet into each pant leg
- Use rope to pull pants on
- Detach clamps & stand to pull pants over hips
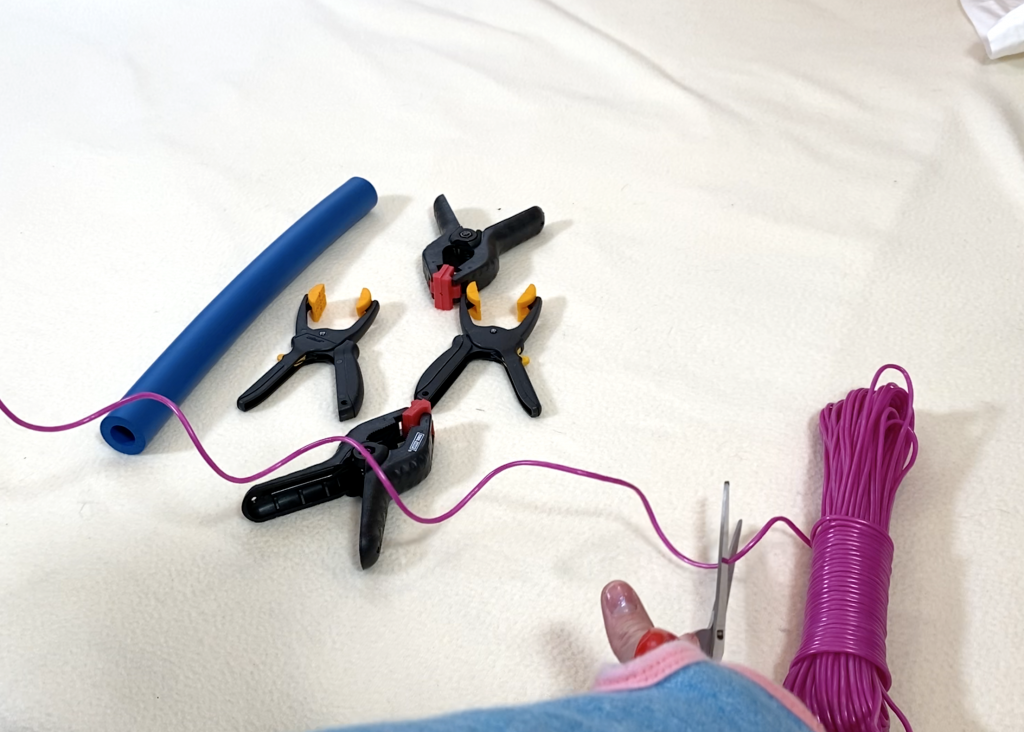
Step 1: Measure and Cut Rope Length
The first step to using this unique approach is to measure and a cut piece of rope.
Using a tape measure, measure from your waist to your foot. The length of the rope should be twice the length of your hip to your foot. In this case, we had already measured the proper length of rope to use.
Cut the rope was you have measured out the proper length.
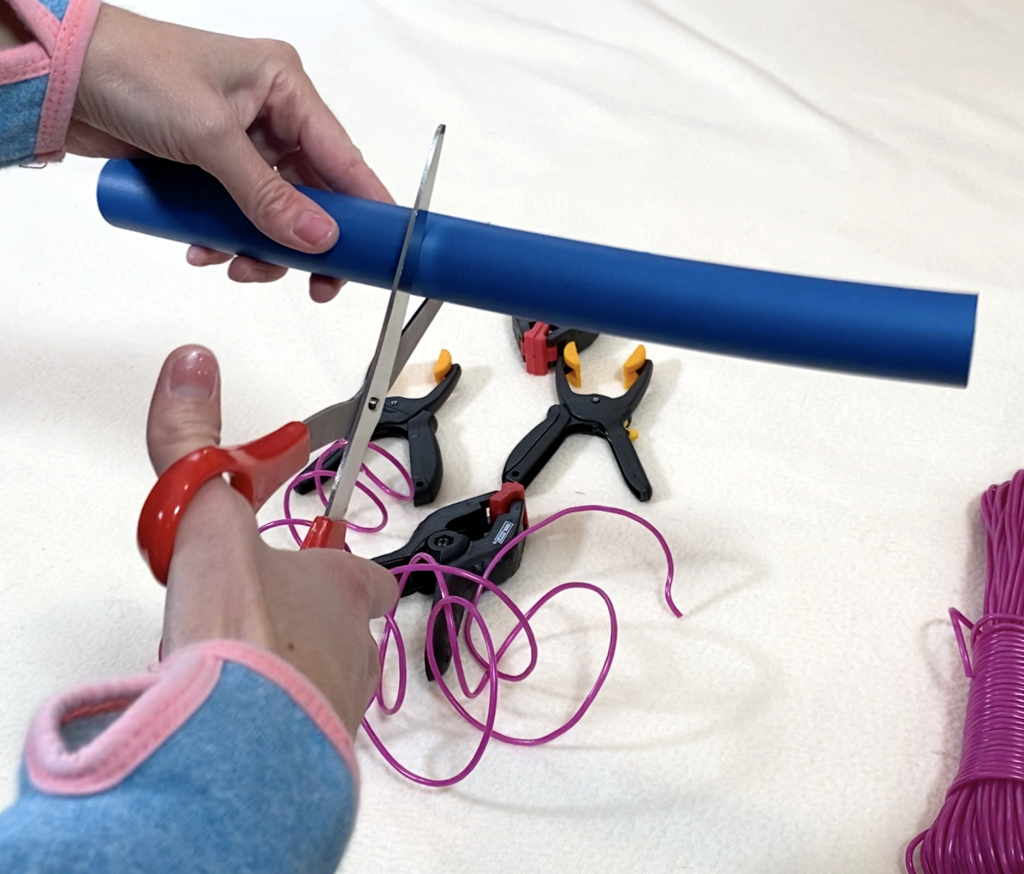
Step 2: Cut Foam Cylinder to Length
Earlier, I said you would need a foam cylinder in order to make handles. Now is the time to create those handles.
This step is not strictly necessary as you will see later. You can put on pants just by grabbing the rope, but the foam cylinder will provide a better surface to grip than the rope.
First, set the cylinder length-wise….
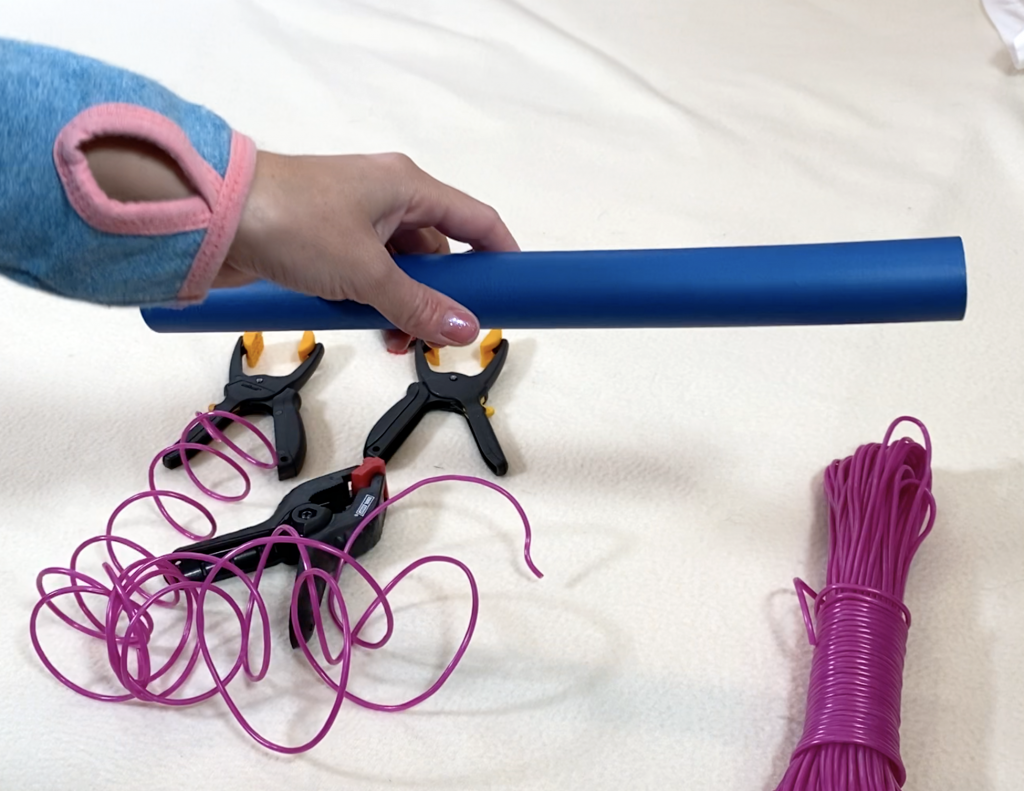
…and cut to a length that will be comfortable enough to grab with both hands. In this case, with the length of the foam cylinder I had, I simply cut the foam cylinder in half using a pair of scissors.
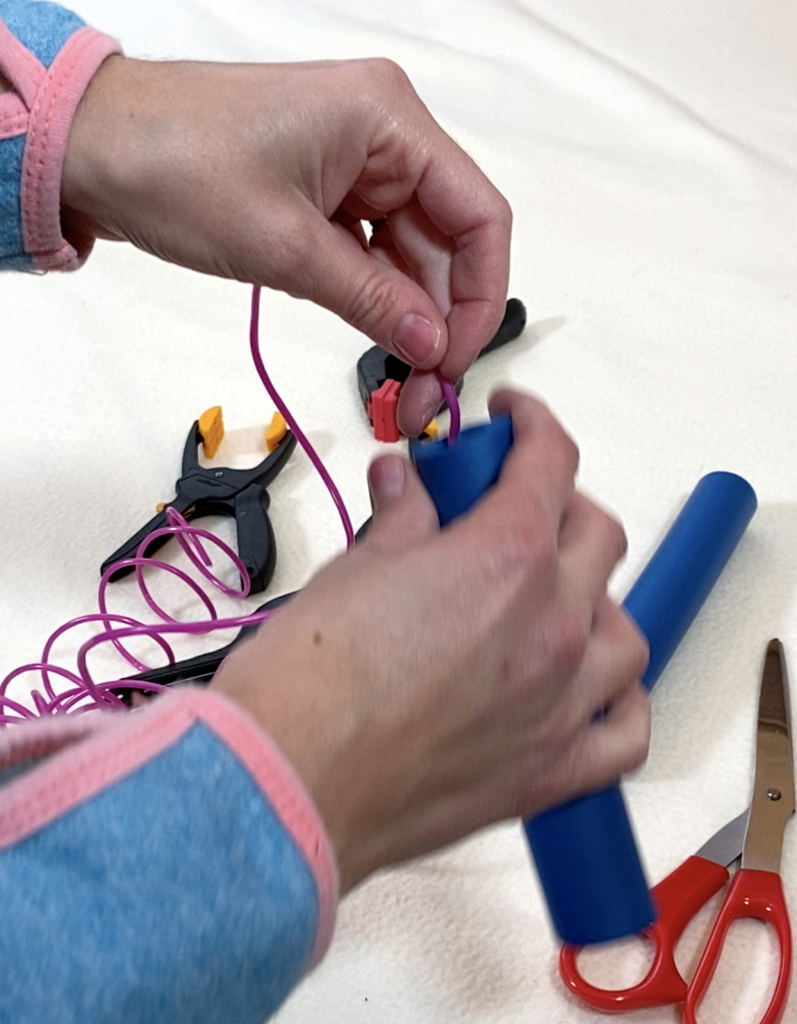
Step 3: Slip Rope Through Foam Cylinder
Before you attach the rope to the hand clamps, you’ll need to slip-on the now foam cylinder you have. The reason for this is once you attach the rope to the hand clamps, you won’t be able to slip the foam over the hand clamps.
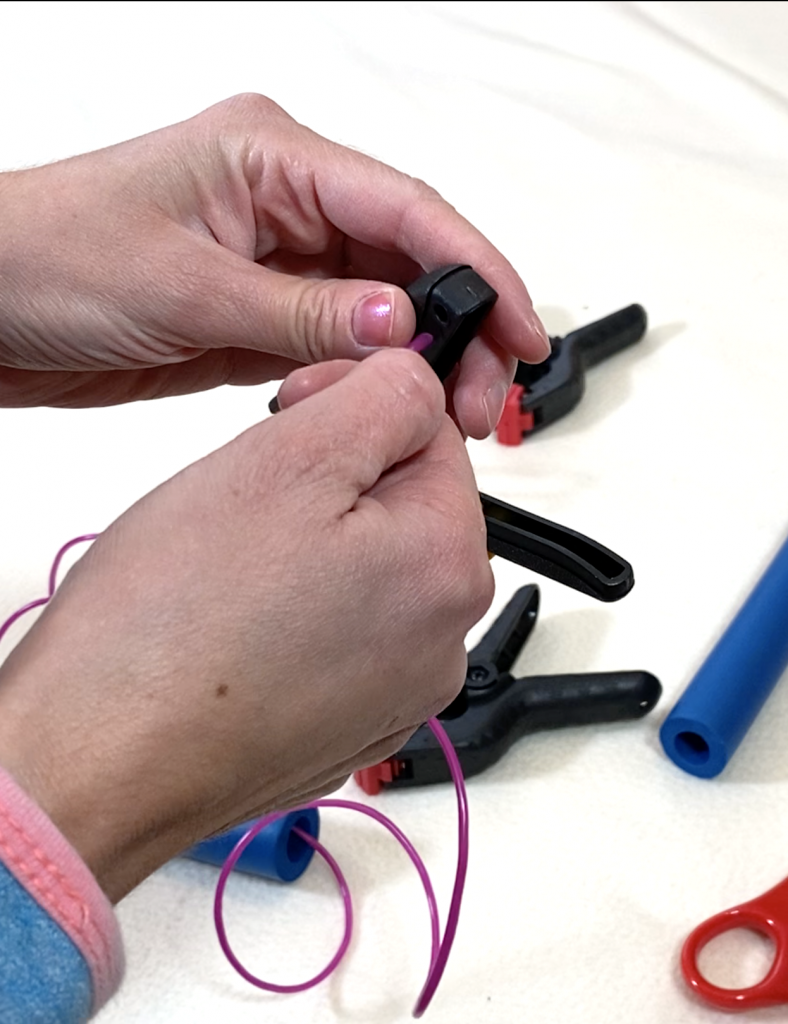
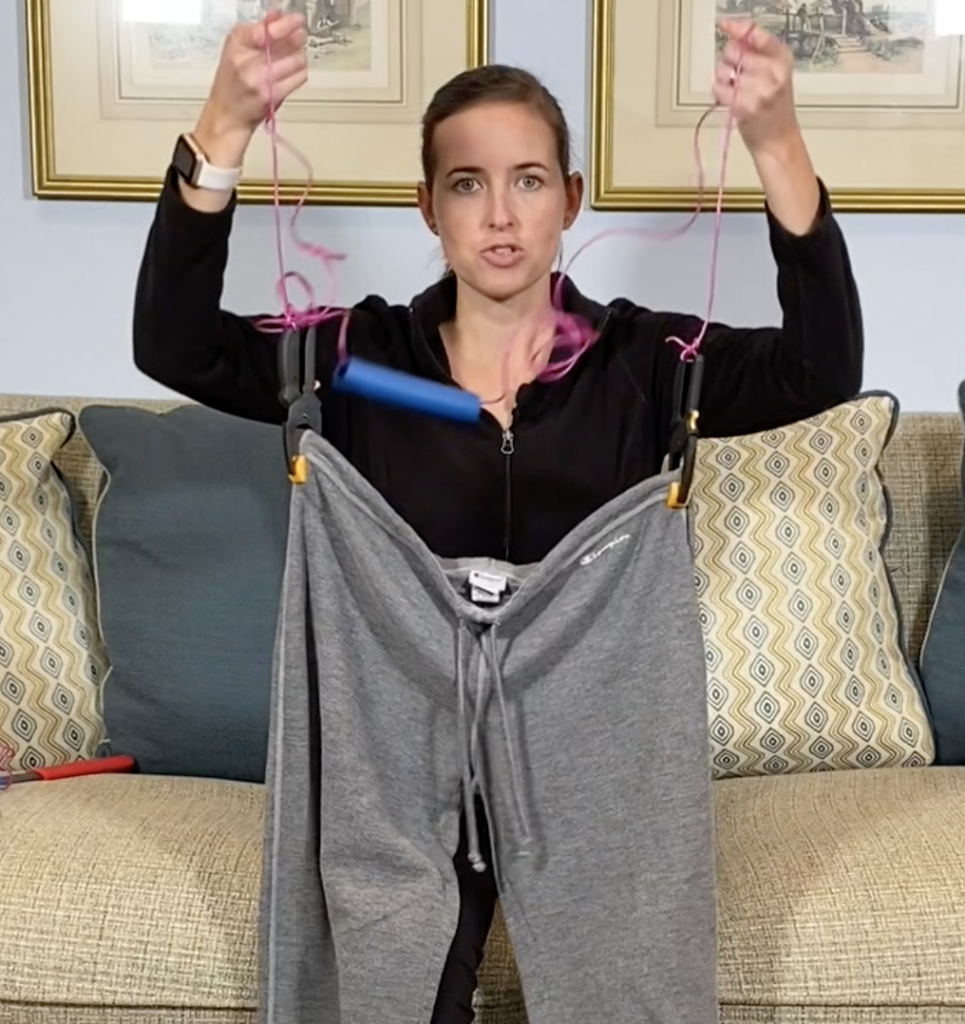
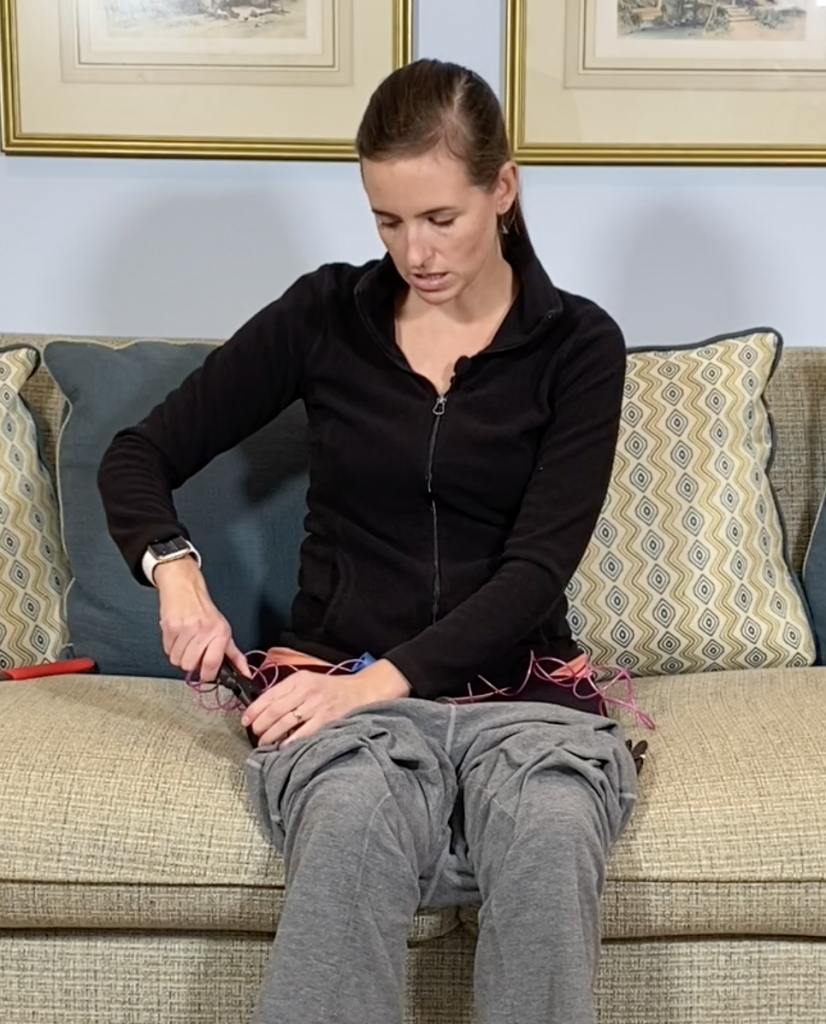
Step 4: Tie Rope to Hand-Clamps
Now that the foam cylinder grips are on the rope, we can tie the rope to the hand-clamps.
Both styles of hand-clamps, spring and rachet, should have holes at the end of the handles. Tie the rope through these holes in the handles and your tool is done!
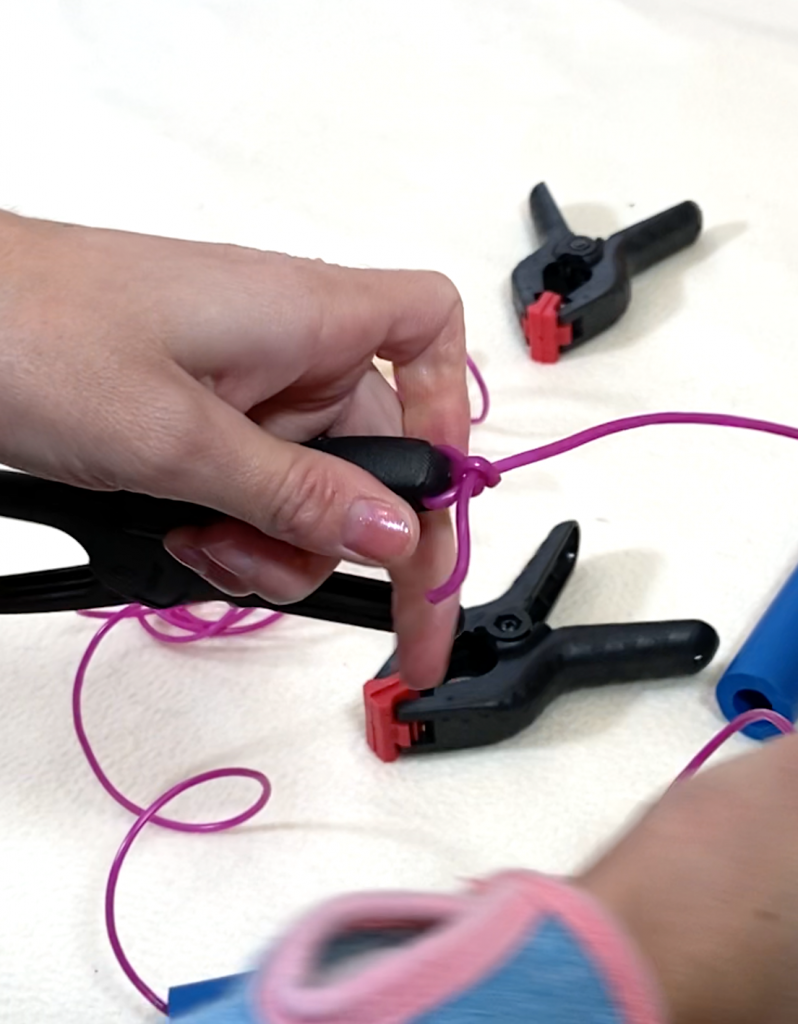
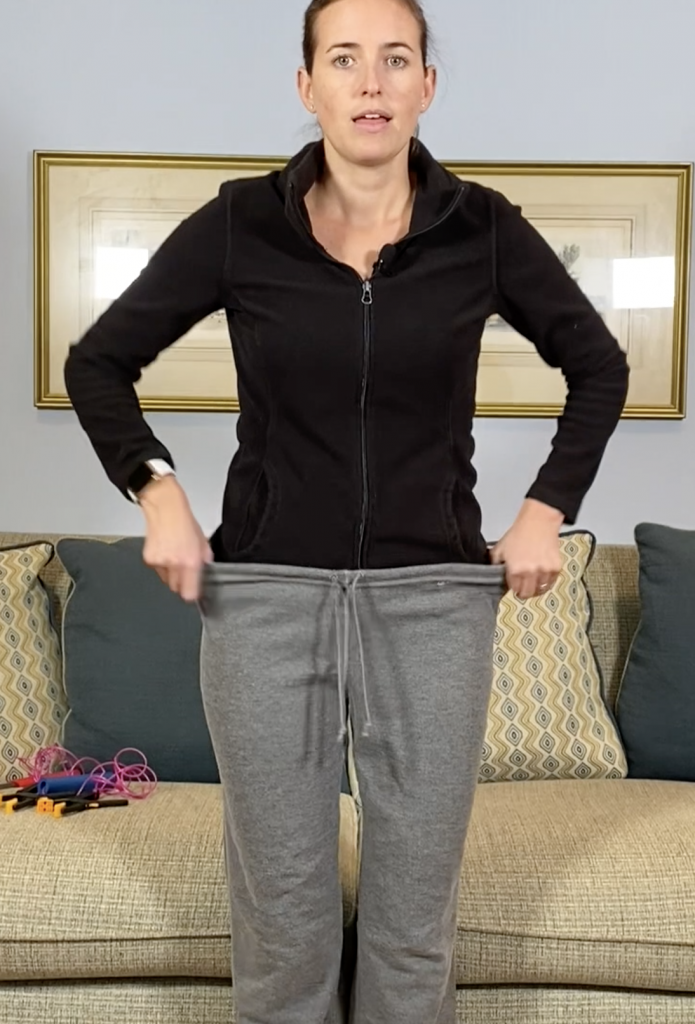
Step 5: Attach to Pants
Before you attempt to put on your pants, you need to attach the clamps at either end of your rope to your pants. Typically, you attach the clamps to the waist of your pants.
Hold the pants you want to put on in front of you, with the front of the pants facing away from you.
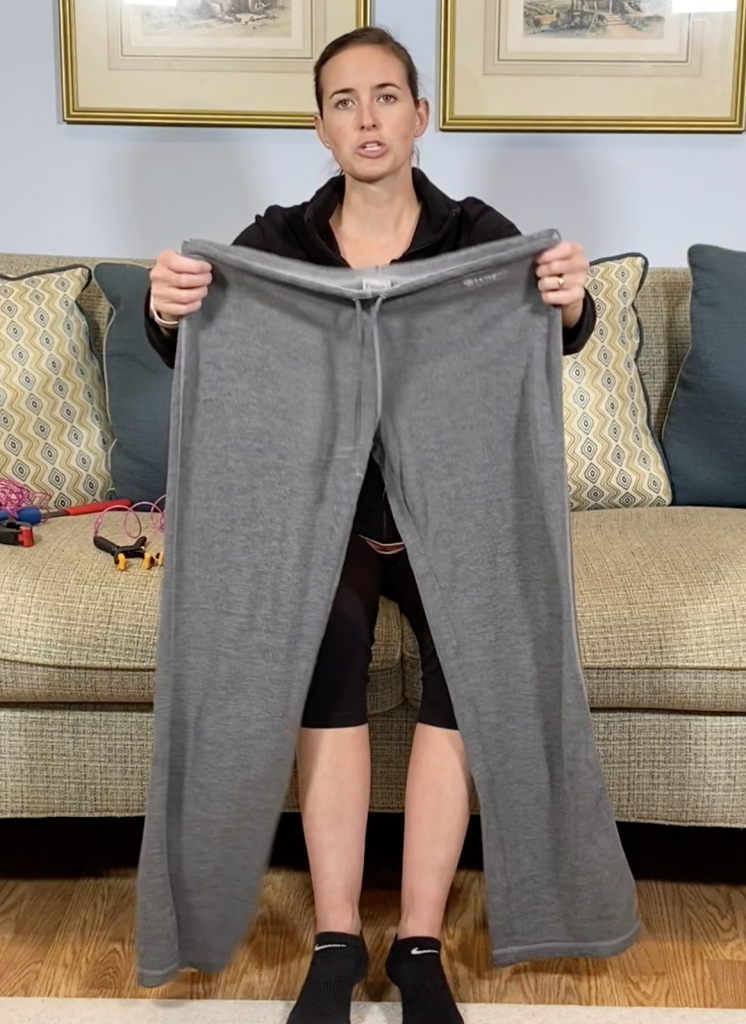
With the pants facing away from you, attach one clamp to the waist band on the left-side and one clamp to the waist on the right-side.
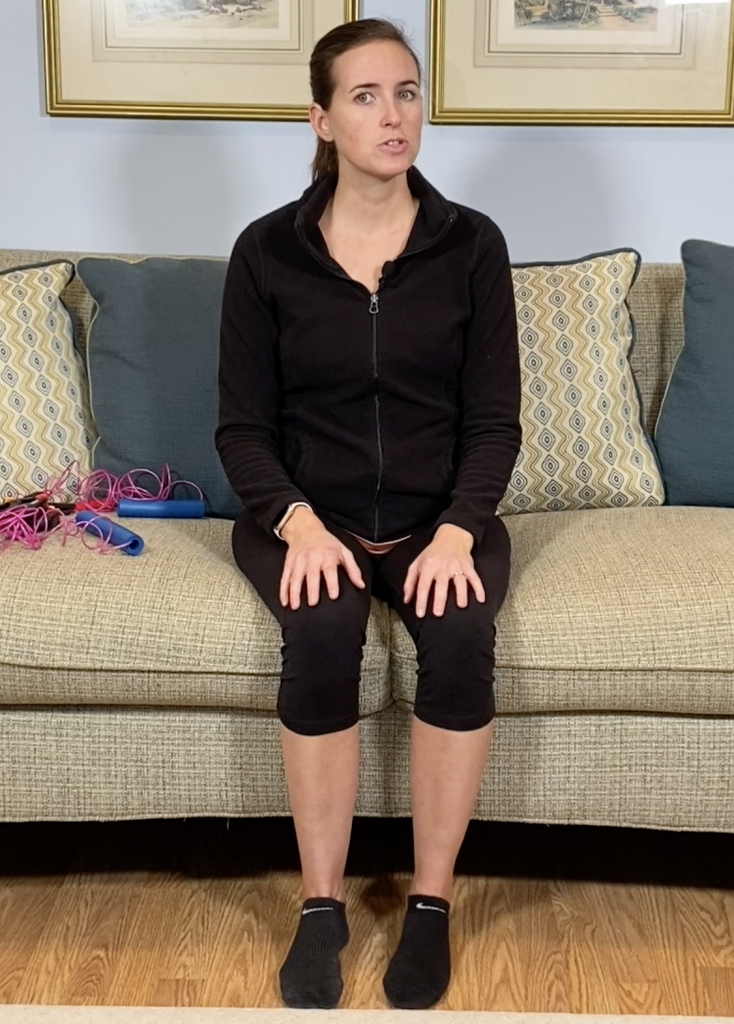
Step 6: Find Comfortable Sitting Position
To use this technique, you are going to need a comfortable sitting position. This could be the edge of a bed, or in our example, the edge of a couch or sofa.
Step 7: Lower Pants to the Floor
The next step is to lower the pants on the floor while holding onto the rope that is attached with the clamps.
Step 8: Slide Feet into Each Pant Leg
Pulling on your pants will be much easier if you ensure that your feet inside the pant legs before you attempt to pull them on.
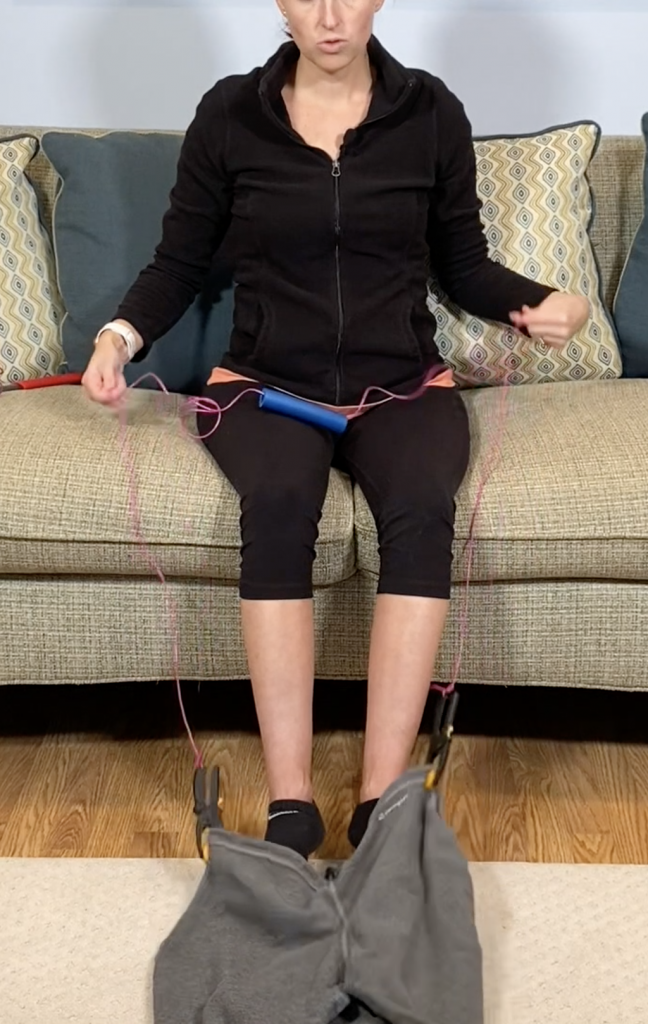
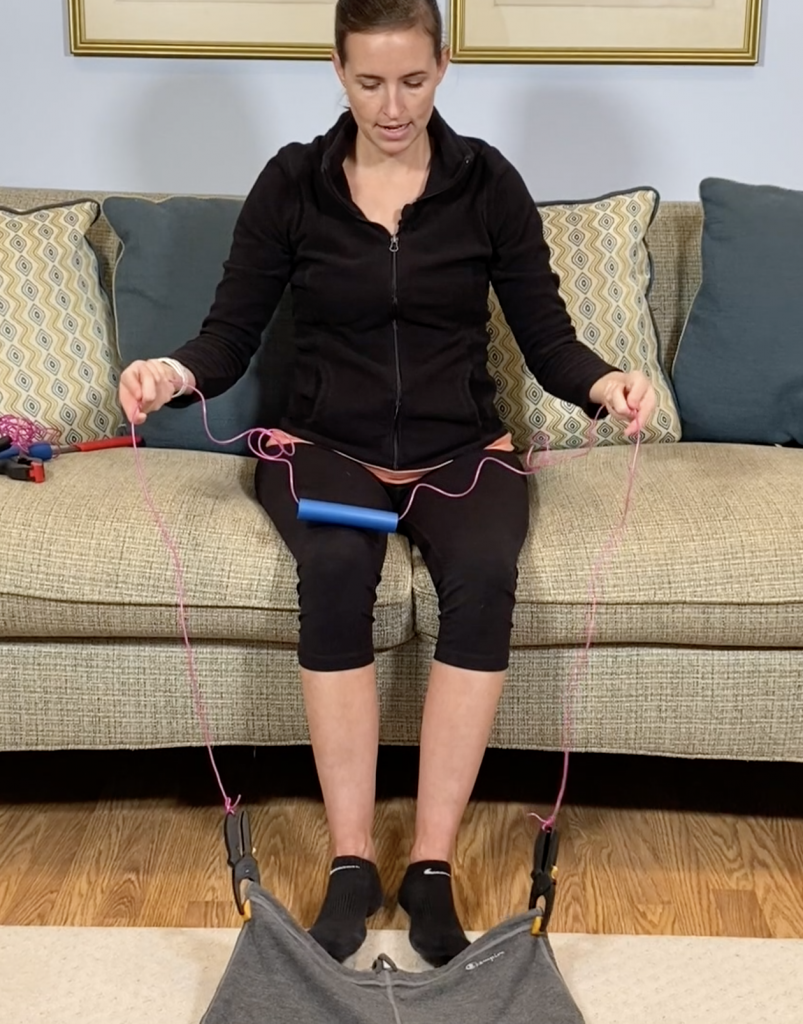
Step 9: Use Rope to Pull On Pants
Using the rope or foam handle, pull on the pants to about your thigh-level. Important: ensure the pants are all the way above your feet to prevent tripping or falling when standing up to pull the pants all the way on.
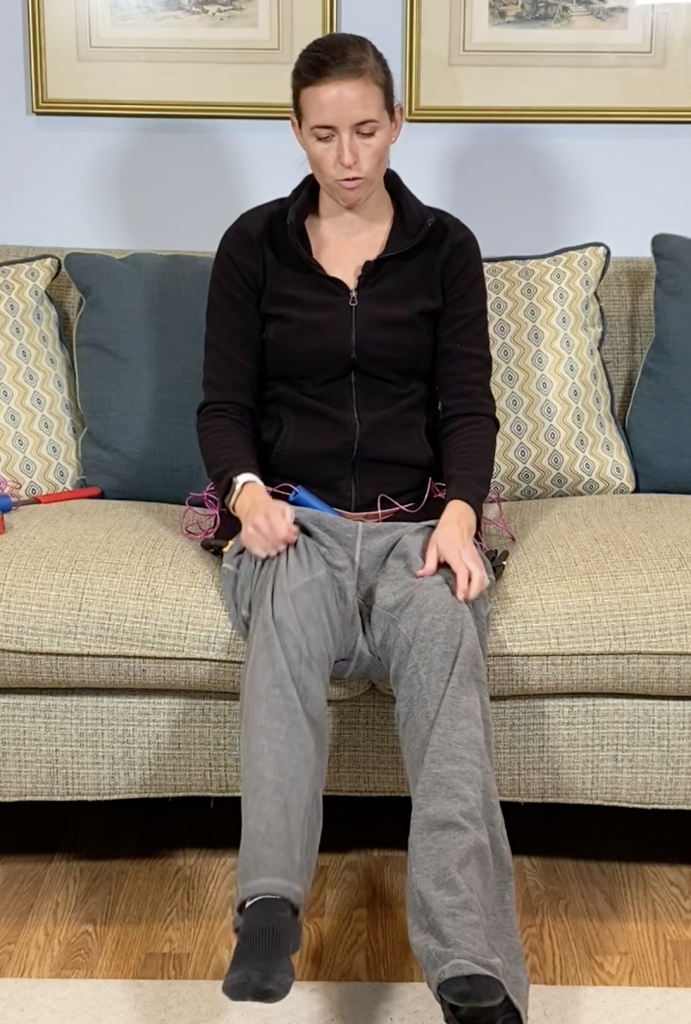
Step 10: Detach Clamps & Stand to Pull Pants Over Hips
That’s it!
You can actually use this same technique for removing your pants as well. Just follow these steps but in reverse.
Note: This post contains affiliate links that provide a small commission with no added cost to the user.
More Recent Posts…
- How to Sleep After a C-Section or Abdominal Surgery

 Recovering from a C-Section, appendectomy, abdominoplasty, or other abdominal surgery can feel overwhelming, especially when it comes to something as essential as sleep. With a tender incision and limited mobility, finding a comfortable position may seem impossible—and yet, proper rest is critical for healing! In this …
How to Sleep After a C-Section or Abdominal Surgery Read More »
- How to Get In and Out of the Car after Hip Replacement
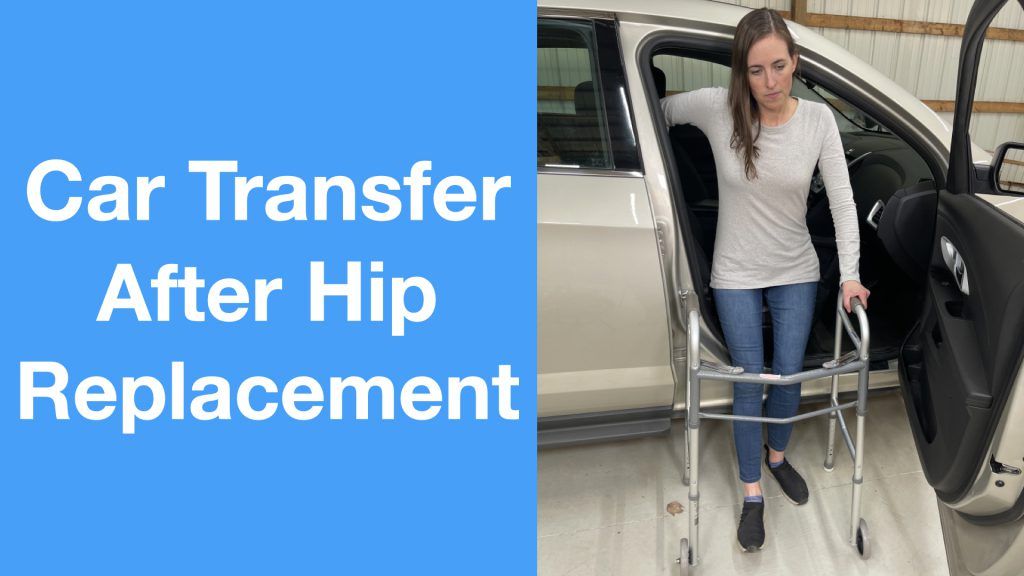 Getting in and out of a car after a hip replacement can feel like navigating an obstacle course. Ensuring you move safely and avoid unnecessary strain on your healing hip is essential for a smooth recovery. Whether you’re heading to a follow-up appointment or simply enjoying …
How to Get In and Out of the Car after Hip Replacement Read More »
- A Complete Guide to Lower Body Dressing After Hip Replacement Surgery
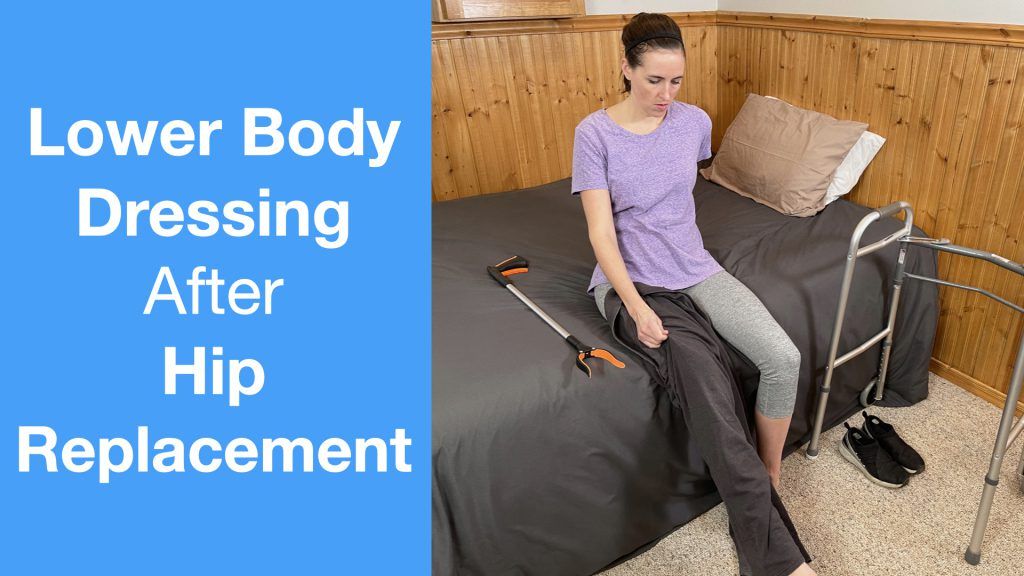 Recovering from hip replacement surgery (or similar traumatic injury) comes with its challenges, especially when it comes to everyday tasks like getting dressed. While your mobility may be temporarily limited, dressing your lower body can be made much easier with the right strategies and tools. This …
A Complete Guide to Lower Body Dressing After Hip Replacement Surgery Read More »