In this post, I’m going to show you how to install a handheld shower head.
Having a handheld shower head is completely essential if you need sit at any point in your shower. For example, if you need to use a tub bench or shower chair.
Plus, handheld shower heads are useful for washing your shower out, bathing your kids, and even the family dog!
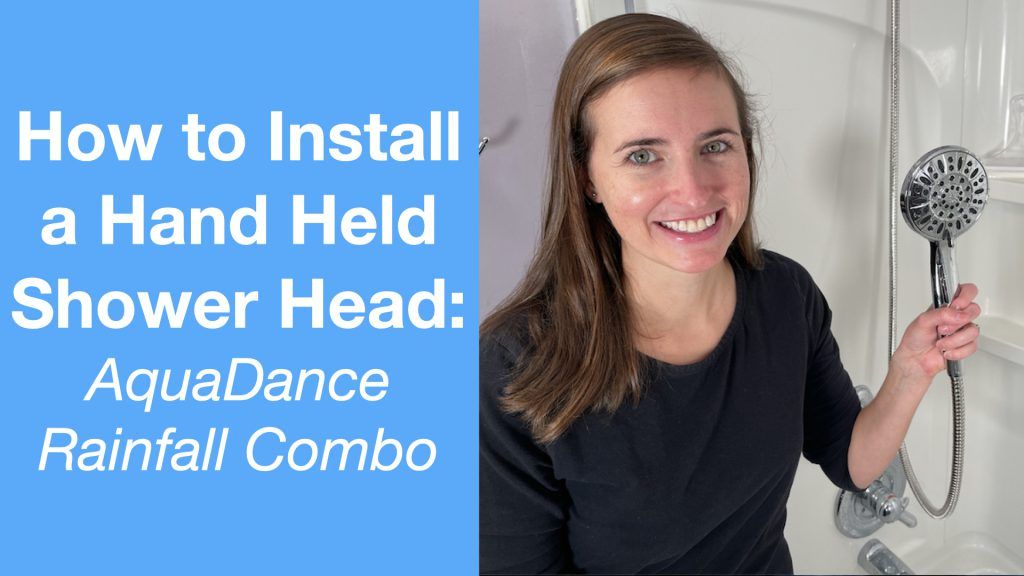
The particular handheld shower head that I will be installing is from AquaDance. I’m going to post a link down below about the specifics of the shower head and where you can order one if you want this style.
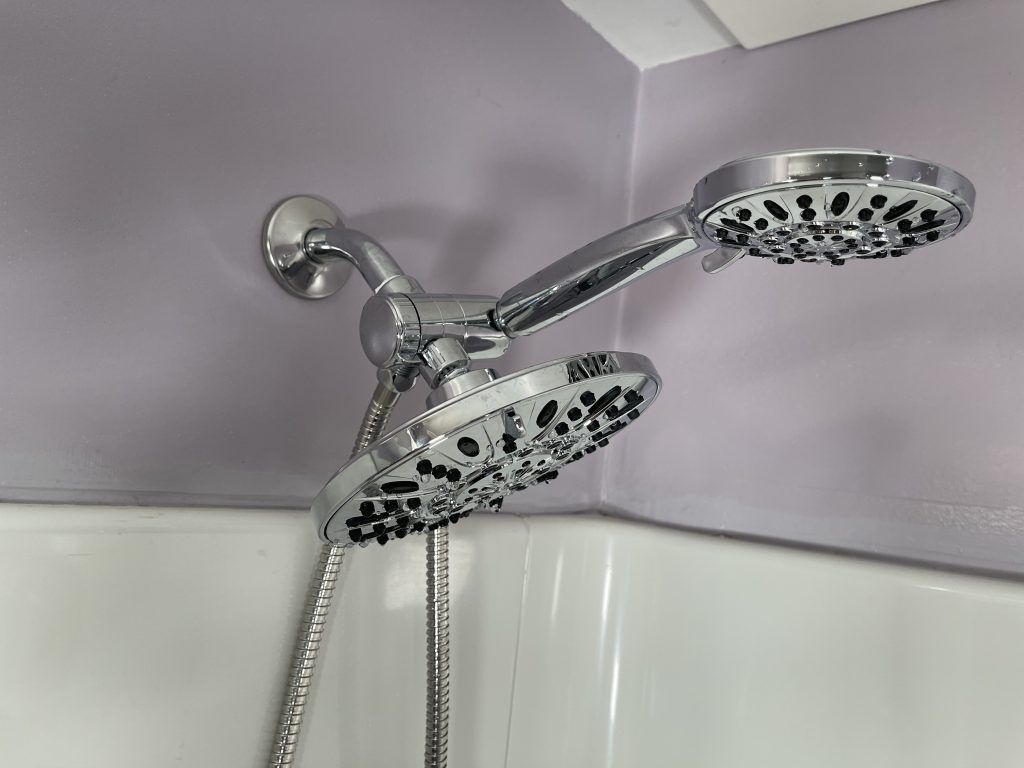
This handheld shower head comes with a static head, as well as the handheld arm; which is really nice, it gives you a lot of flexibility. The handheld shower head is useful for anybody taking a shower from a standing or a seated position.
If you prefer the video version of the complete process of how to install a handheld shower head check out my YouTube Channel EquipMeOT.
Overview
Estimated Time: 20 minutes
Estimated Cost: $45* USD
Please note: Before we begin, you need to make sure you follow all the instructions and warnings provided by the manufacturer. The steps below are only to provide guidance with installing or assembling equipment, but you should always follow the warnings and instructions provided by the manufacturer and always speak with your medical team before adding new equipment to your routine.
Supplies Needed

- Teflon Tape (Comes with the shower head combo)
Tools

Steps
- Remove old shower head
- Wrap threads with Teflon tape
- Install lock nut
- Twist-on T-Valve
- Twist-on static shower head
- Connect handheld shower head hose
- Attach the handheld shower head
- Testing and Final Tightening
- Bonus Tip: Handheld Shower Head Holder
Step 1: Remove Old Shower Head
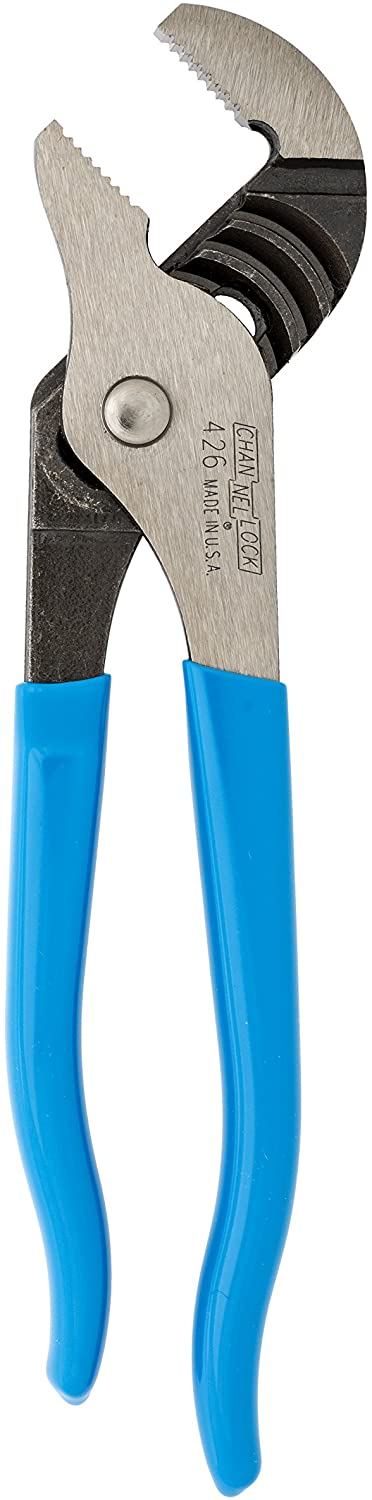
Before the installation process begins, you will need to uninstall the old shower head. An adjustable crescent wrench is helpful to get the old shower head loosened. Channellock pliers can also be used if no hex nut is found on the old shower head.
Step 2: Wrap threads with Teflon Tape
First step is to wrap the threads of the shower pipe with teflon tape.
I first cleared off the old Teflon tape to prepare the threads for the new Teflon tape. The Teflon tape comes with the shower head kit. This tape helps to keep a tight seal to prevent leaking.
Once the old Teflon tape is removed, you can wrap the new tape around the threads. The goal is to have a nice coating of the Teflon tape. I went around the threads twice, but you may need more. I was able to tear the tape when I was done wrapping but scissors would work too.
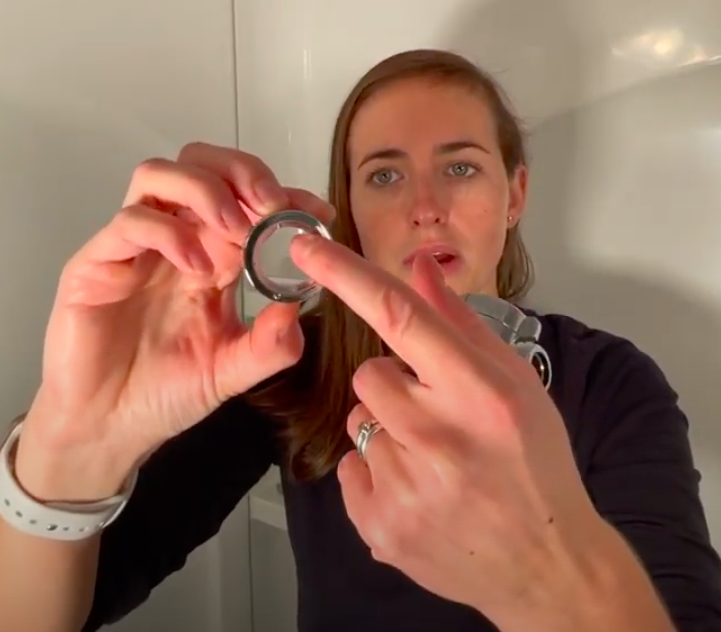
Step 3: Install Lock Nut
This articular brand of shower head comes with a lock nut. The lock nut has a single thread on the outside of the nut. That thread needs to be facing out. Twist the lock nut on the shower arm until the end of the threads.
Note: The locking nut is not always needed when you have short threads on the shower arm. I found this out when I went to test it at the end. I had a small leak near the t-valve. Once I removed the locking nut I didn’t have any leaking. If your shower head leaks too, removing the lock nut might help as well.
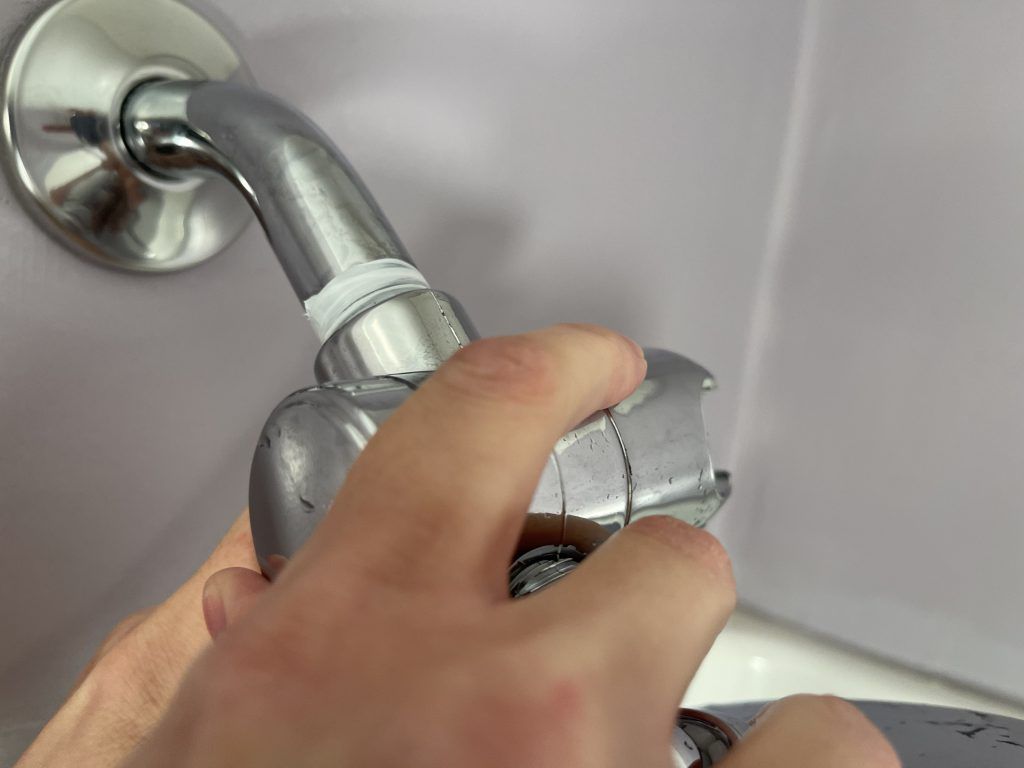
Step 4: Twist-on T-Valve
The handheld shower head kit should include a T-Valve. The T-Valve is made to be hand tightened. No need for any tools. It is plastic, so don’t over tighten it or it could break.
Twist the T-Valve on until it is tight. If possible, align the side with the shower hand-held holder is on the side towards the wall so the valve selector is easily accessible.
If using the locking nut make sure the T-valve and locking nut are tight together.
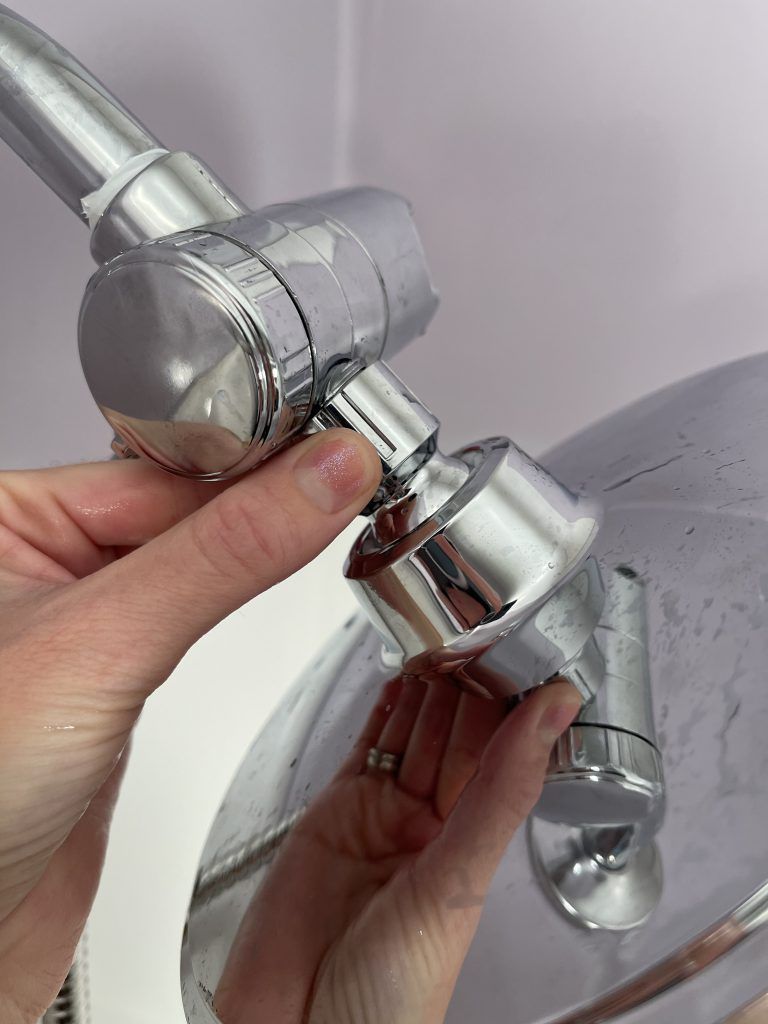
Step 5: Twist-On Static Shower Head
The next step is to twist-on the static shower head onto the end of the T-Valve you just installed.
Grab the static shower head and check to see that it has a black gasket in the attached nut on the back. This gasket helps with preventing leaks.
Once the gasket is in place start twisting the nut on the back of the shower head onto the front facing threads on the T-valve. Twist till it is hand tight.
If you have a problem with that part leaking, the instructions say you can add another gasket. The kit comes with several.
You can put some Teflon tape on the threads for the static shower head as well, but it is not mandatory. The shower head does have a joint, so you can move to the preferred position once tightened.
Step 6: Connect Handheld Shower Hose
You will need a black gasket that came with the kit for this next step. Grab your shower hose and find the end with the smaller nut.
Place the black gasket to place in the fastening nut. It should sit right down inside of the nut. Then, take that hose end up to the t-valve and line it up with the open threads on the back of the t-valve. Start twisting the hose nut on to the threads until it is hand tight.
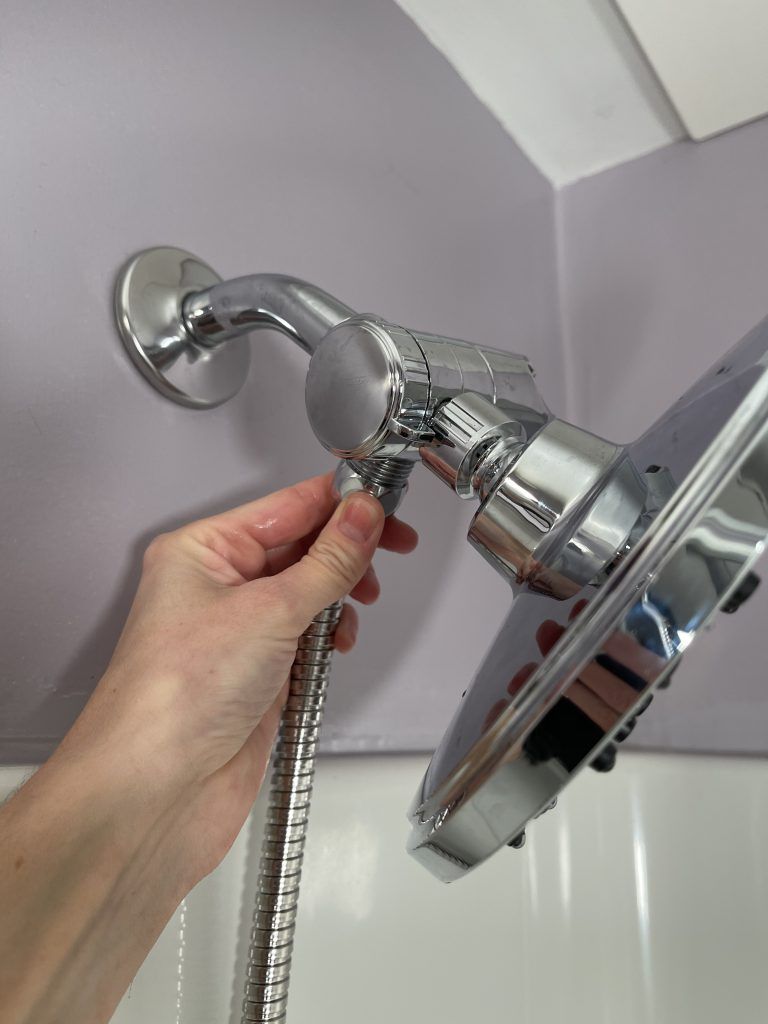
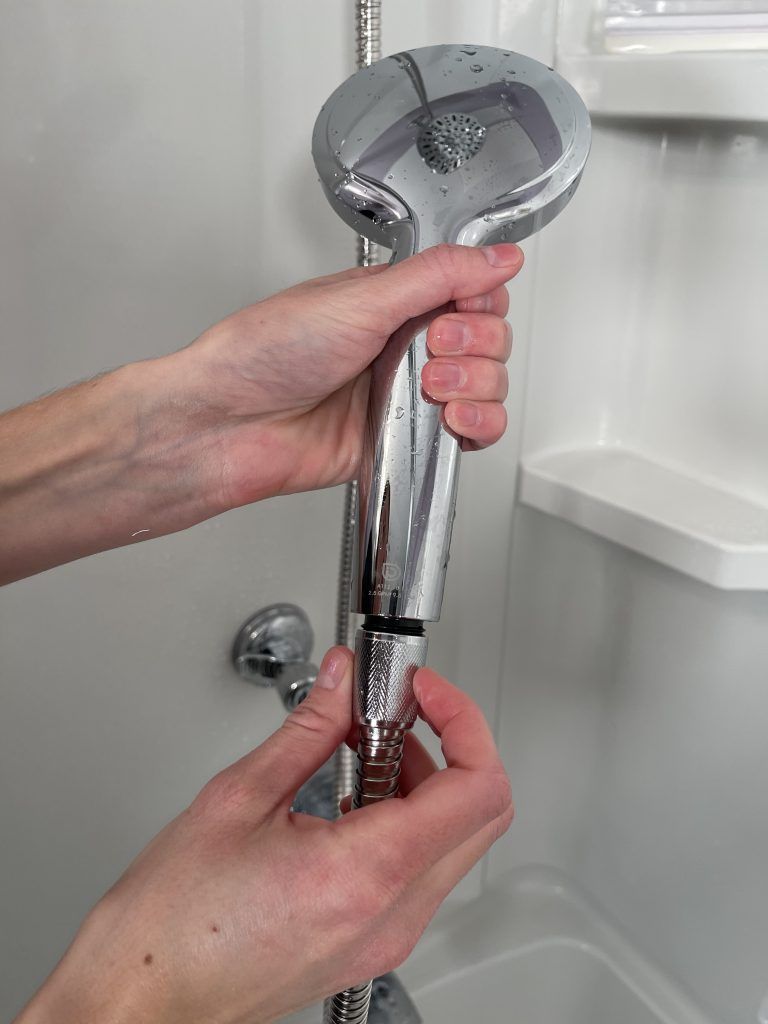
Step 7: Attach the Handheld Shower Head
For installing the handheld shower head, you will need to put a black gasket in the other end of the hose just like the previous step.
With the gasket in place, screw the bottom of the hand held shower head onto the hose until it is hand tight. Once that is hand-tight, you can place into the holder in the T-valve. The holder itself can be adjusted to get your preferred angle.
Step 8: Testing and Final Tightening
Now that everything is installed, you can test the handheld shower head. If there are any leaks, try tightening them up by hand. If you are unable to tighten them by hand, you can use a adjustable crescent wrench or channel lock pliers. Just note, you need to be careful and gentle when using tools since these parts are made of plastic and they can crack and the threads can strip.
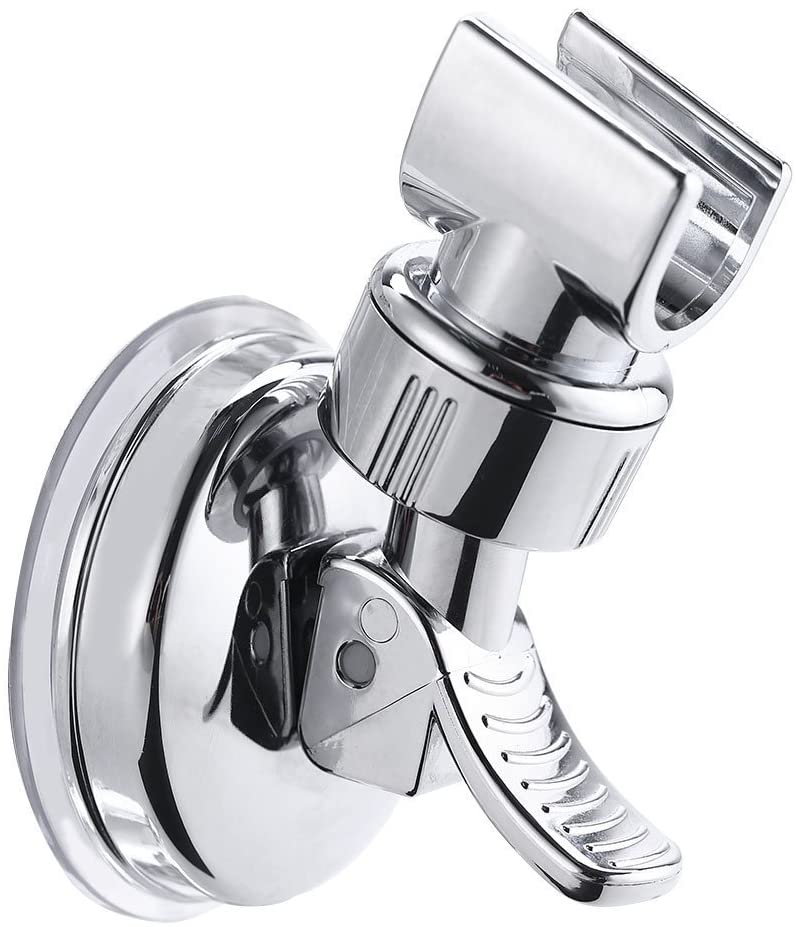
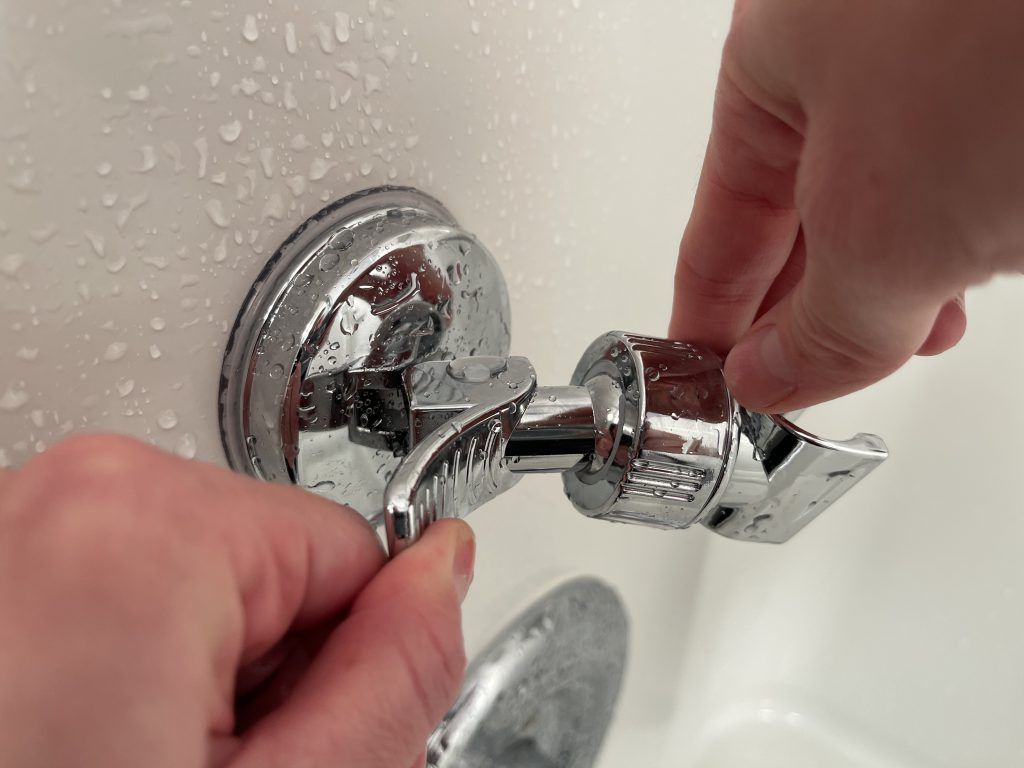
Bonus Tip: Additional Handheld Shower Head Holder
If you would like your handheld shower head lower in a more preferred position, a suction cup shower head holder is a great option.
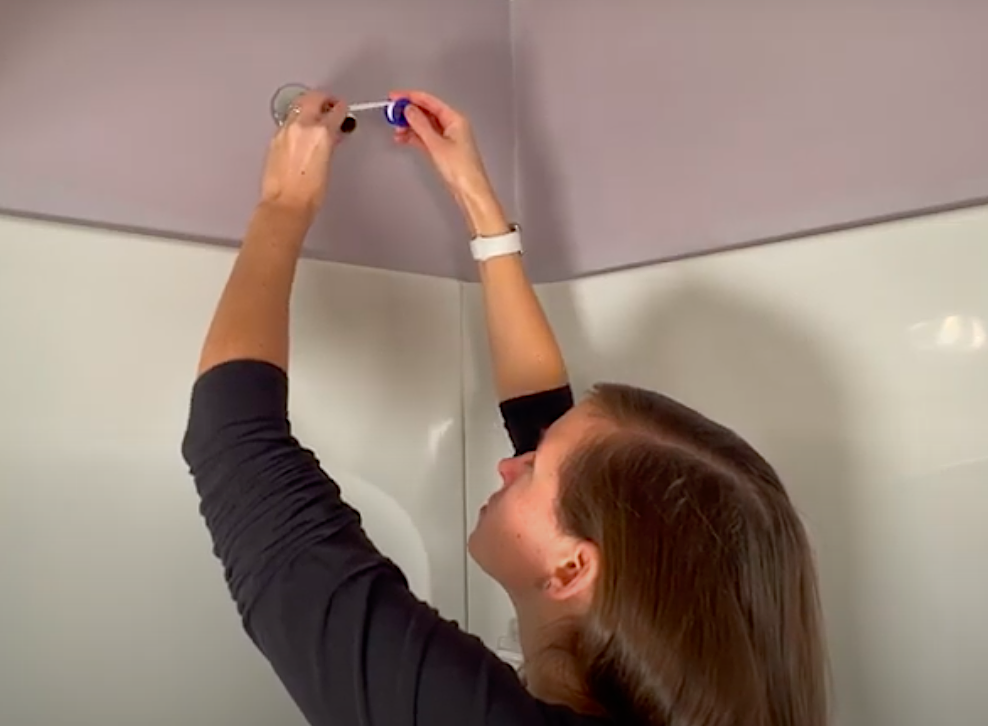
These suction cup shower head holders work best on smooth surfaces. Locate where you want to place it and simply press it up against the shower surround and flip the lock over. The holder angle is also adjustable.
That’s it! The handheld shower head is now installed and it is ready for service. Hope this tutorial was helpful!
*all prices are at the time of publishing
Note: This post contains affiliate links that provide a small commission without any added cost to the user.