Installing a raised toilet seat that requires assembly may not be the best solution for every situation. If you are traveling or just need a temporary solution, installing a toilet seat which requires assembly would not be very practical.
But there is another way.
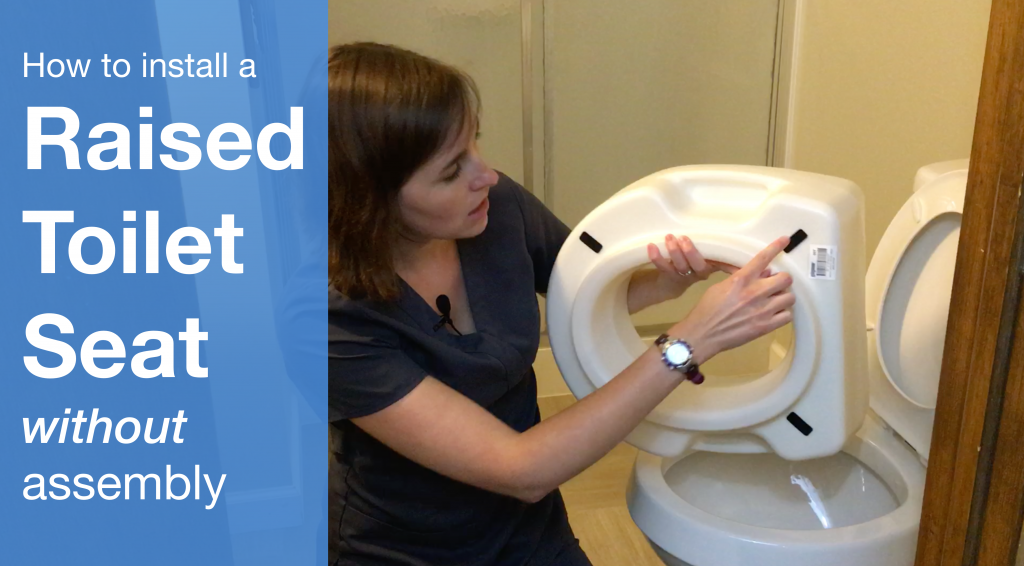
I’ll show you how to install a raised toilet seat that requires no assembly and no additional fixtures in two simple steps.
Installation Steps:
- Place Toilet Seat
- Safety Check
Please note: Before we begin, you need to make sure you follow all the instructions and warnings provided by the manufacturer. The steps below are only to provide guidance with installing or assembling equipment, but you should always follow the warnings and instructions provided by the manufacturer.
Let’s get started!
Equipment
There are toilet seats available that do not require assembly. This toilet seat is specifically made for round bowl toilets. These do come for elongated bowls, but make sure you check what type of toilet that this is going to go on before purchasing.
This particular teat toilet comes with 300-pound weight capacity, and they also are really useful if you’re going to be moving your raised toilet seat from one bathroom to another, or from one home to another, or even bringing it on vacation.
This toilet seat gives you a five-inch rise, which is pretty significant, so also take into consideration your personal height before making the purchase, because on a standard toilet with a five-inch rise, that’s going to give you nearly 20 inches of height from that sit to stand position, which is really helpful for some people, but may be too tall for others.
On most toilet seats of this version, there are black, usually black, rubber placing hold feet. Make sure you check to see that these are present before installing. They’re going to really help with that grip, especially if you buy it used or are borrowing it.
Required Tools
This kind of toilet seat requires no tools and requires no additional skill in installation.
Installation Step 1: Place the Toilet Seat
The first thing to do with installation is about as easy as can be. You’re going to open the toilet seat up, including the seat. These are created to have a contoured design, meant for you to sit directly on, so you’re not going to use a toilet seat on top. Them, simply place it on the bowl. It should fit snugly, so it may not go on super easy.
Once it’s on and in place, you want to check and make sure that there are not a lot of gaps at the bottom. You also want to try to turn side to side, see if it has any give to it. It should not move much.
Installation Step 2: Safety Check
Check that everything is squared up. Now, you are going to try it out. Now, this is important, too, to take into consideration, is if you’re going to try something like this, I always recommend having somebody who’s maybe more able-bodied or comfortable with the sit to stand transfer trying it before having somebody where it may be more difficult, because if it isn’t secure enough, the risk of fall is significantly higher for the person who may be a little bit weaker or have a disability of some kind.
When testing out the seat, from a standing position with your back facing the toilet, set your hands back and press down on the seat before you sit. You are going to sit squarely back on the seat with my bottom completely covering the circle. You do not want to sit on the front of these, because again, they’re not mounted, so if you were to accidentally sit on the very front, you could run the risk of tipping the seat forward, which could be dangerous. So again, squared up on the back. Try wiggling a little to check its stability. Make sure everything looks good, and you feel very safe and comfortable.
To stand, you are going to hold my hands down on the toilet seat to kind of push, and I’m going to lift. You shouldn’t see a lot of movement in the seat when you come to a stand. If it does move, you may want to consider a different product, or reinstalling to see if there’s perhaps an issue with the original installation.
Note: This post contains affiliate links that provides a small commission with no additional costs to the user.