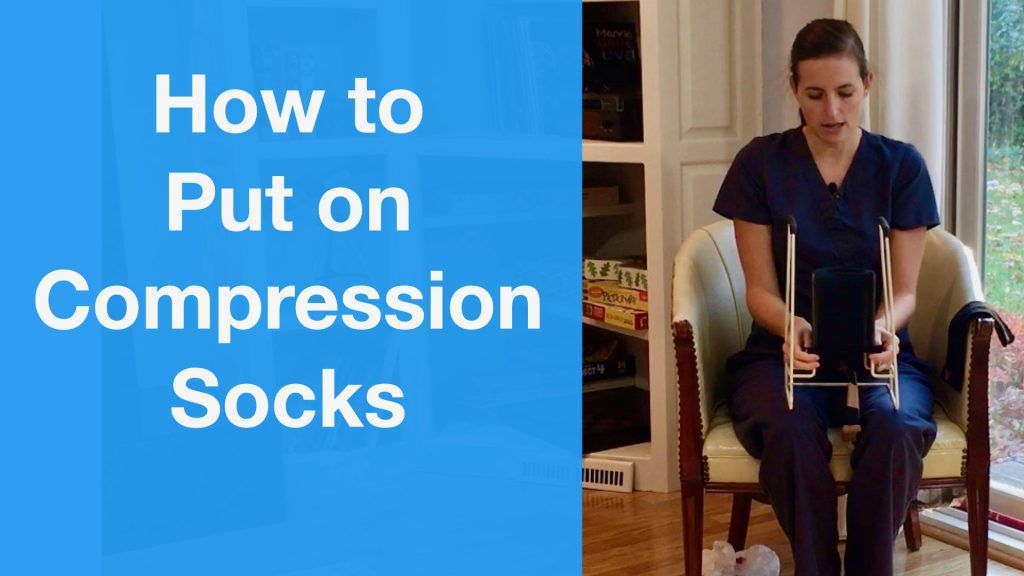
Need to wear compressions socks? Tired of trying to find how to put on compression socks?
Relief is here!
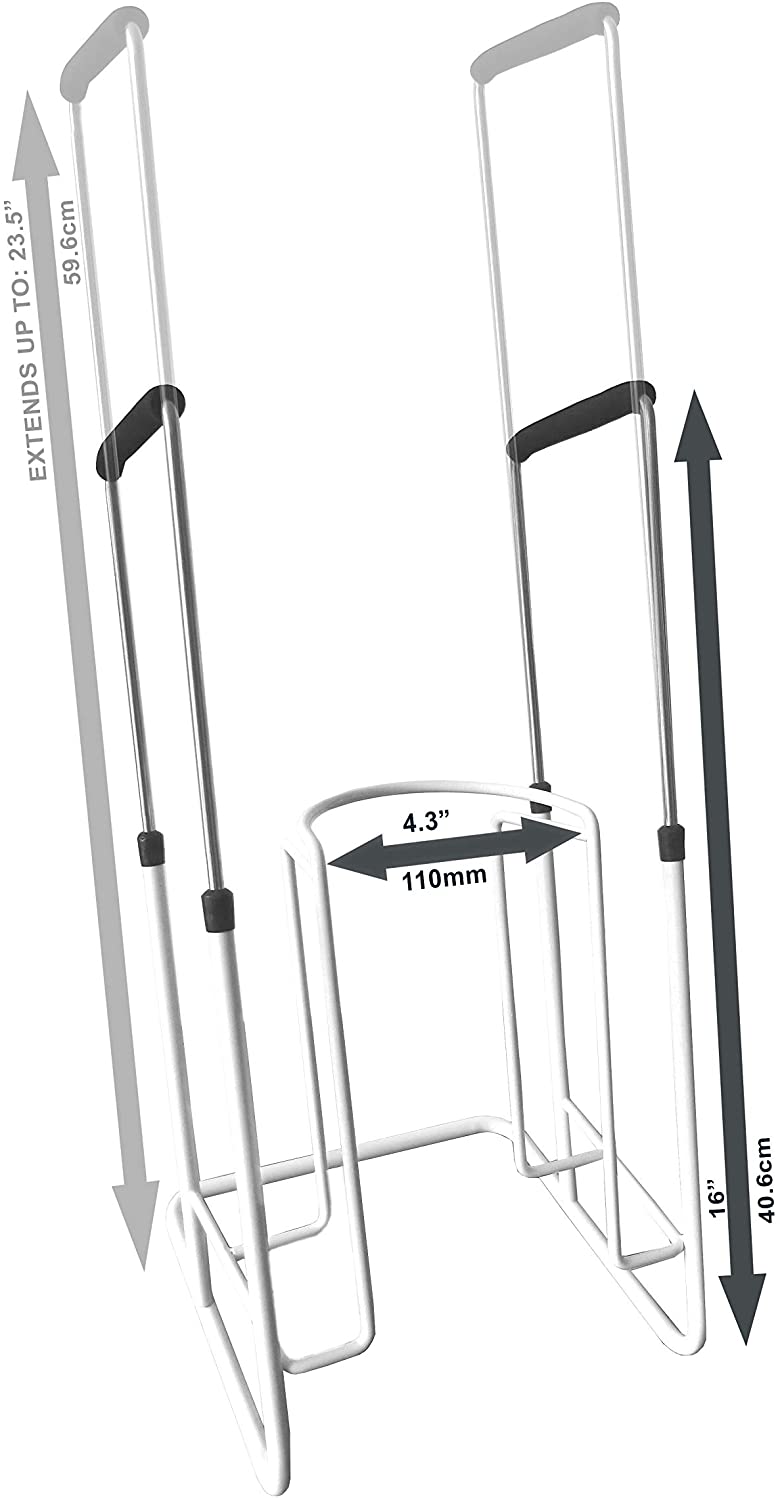
I’ll show you step-by-step how reduce the burden of daily compression sock wearing using a compression sock donning tool (there’s also another one with extendable handles). This technique is something I have taught many patients over the years.
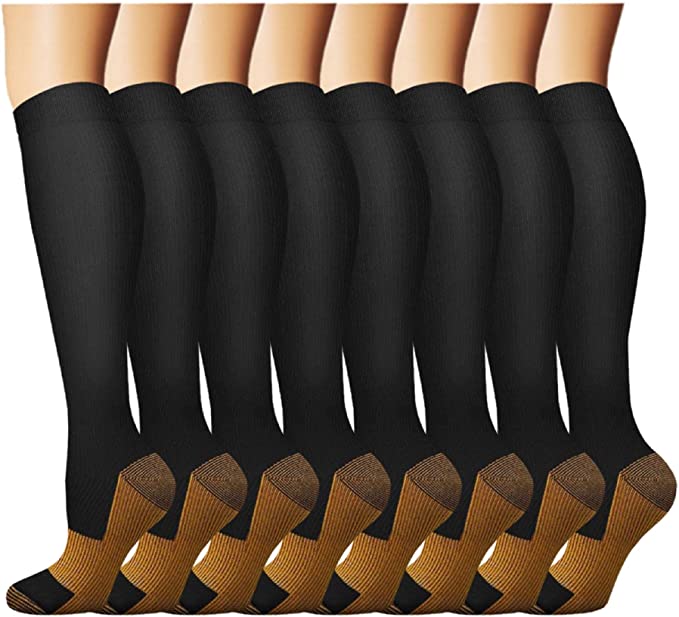
Compression socks are a vital tool for management of many common conditions including lymph edema, venous insufficiency, general edema and general lower extremity discomfort.
If you do not have a compression sock donning tool available and need additional help putting on a compression sock, I have another blog post on how to put on a compression sock without tools.
If you prefer a video tutorial, please check out my YouTube channel!
How to Put on Compression Socks With a Compression Sock Tool
Estimated Time: 5 minutes
Estimated Cost: $30-50 (depending on which tool you choose)
Supplies Needed:
Tools Required:
Steps:
- Place compression sock donning tool on your lap
- Push compression sock over the sock donning tool
- Pull sock until heal covers the opening of the tool
- Slip foot into opening of compression sock
- Pull handles of donning tool until compression sock is in place
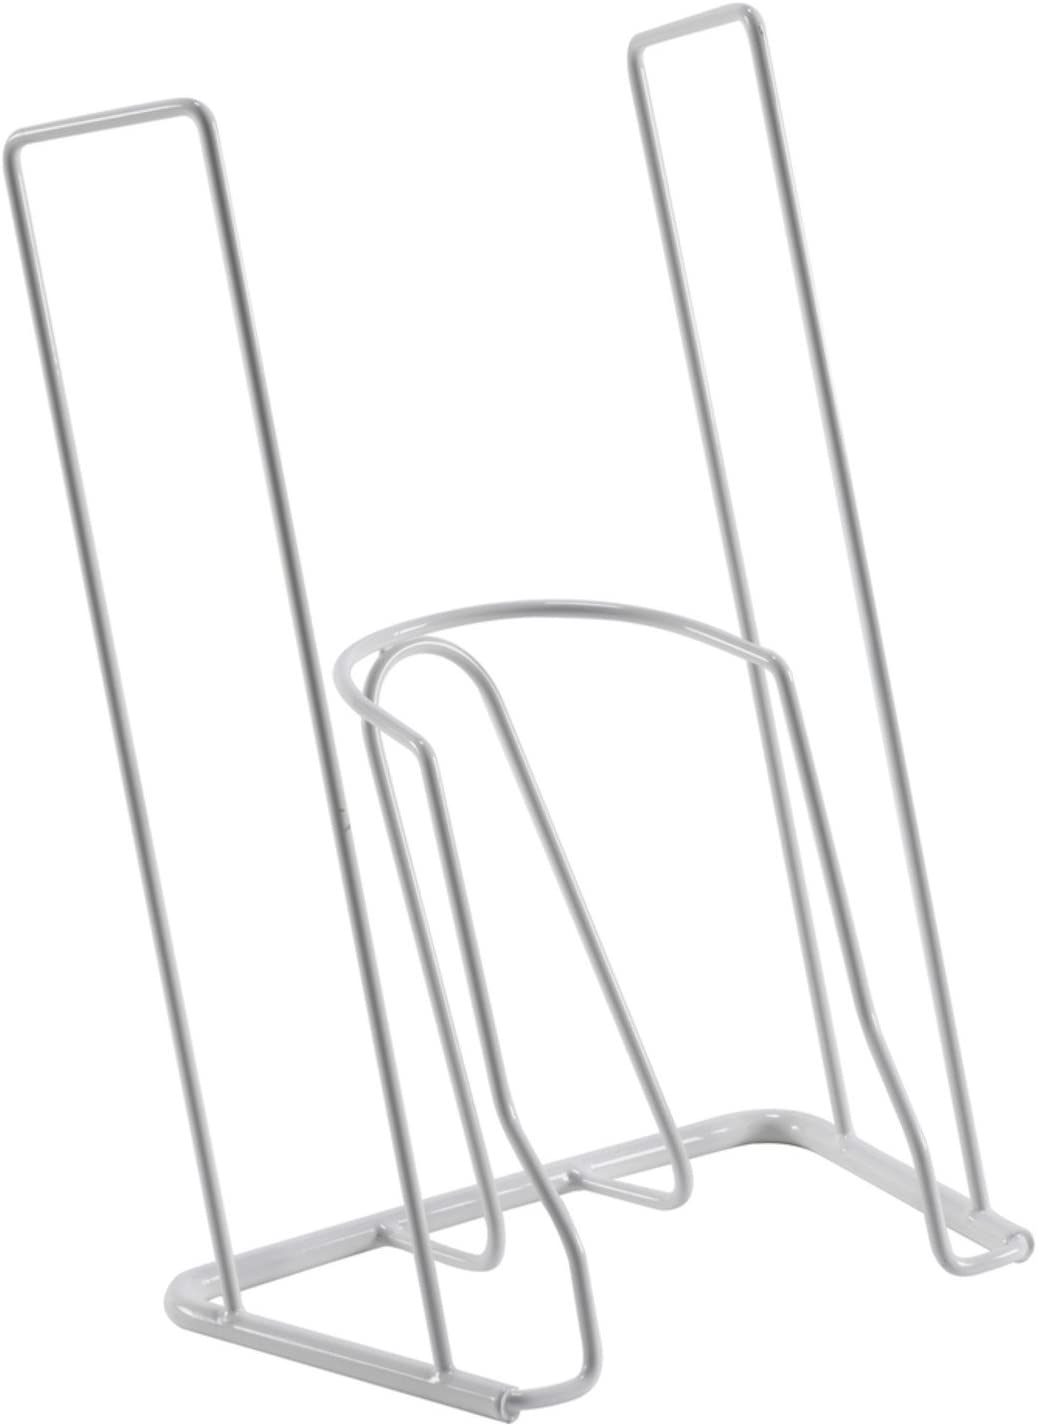
Step 1: Place Compression Sock Donning Tool on Your Lap

First step, place the sock donning tool in your lap in the proper orientation. Place the sock donning tool on your lap oriented as appearing in the picture above with the “U”, or open portion, facing away from your body.
You can place the sock donning tool on a tabletop surface, but I find the lap to be easiest for stabilizing once you place the compression sock over the tool.
Step 2: Push Compression Sock Over the Sock Donning Tool

You’ll need your compression sock for the next step. Hold the sock up in front with you trying to keep the toes down and pointed away from you.
Lower the sock down the center of the “U” opening. When the top of the sock is level with the top of the “U”…stop. Now, open the top of the sock and stretch the edges of the sock over the sock donning tool with toes down and body of the sock bunching along the edges of the tool like the picture above.
Step 3: Pull Sock Until Heal Covers the Opening of the Tool

The next step is really an extension of the step 3, but it is really important for proper fit so you do have to adjust the sock later.
Pull the compression sock over the sock donning tool until the heal of the sock is over the opening of the donning tool, as evidenced in the photo above.
Tip: Having a compression sock with toes and heals that have colors can be helpful, because it will be easier to tell when the heel is over the opening of the donning tool.
The purpose of this step is to ensure that the toe of the sock is very close to the top of the opening.
Why? Because in the next step, you’ll pull the sock over your leg, but before you do that, you should make sure that your toes reach the end of your sock. If they don’t, when you go to pull the sock on, there will be part of your sock hanging off the end of your foot and that can be difficult to adjust later.
The tool should be held on your lap with the heal closest to your body before attempting to place toe into tool and pulling over leg.
Step 4: Slip Foot into Opening of Compression Sock

The next step is straightforward. Holding the handles of the sock donning tool, place your toes into opening of the sock and begin pulling your foot into the sock. Once again, make sure your toes are at the tip of the sock before continuing to pull over the leg.
Step 5: Pull handles of donning tool until compression sock is in place


Continue pulling the sock over your leg until the sock is in place and remove the tool. Check the sock for any bunching, rolling or pinching. It is important to check that the sock is completely smooth to prevent possible blistering or skin irritation.
Note: This post contains affiliate links that provide a small commission without any added cost to the user.
More Recent Posts…
- How to Sleep After a C-Section or Abdominal Surgery

 Recovering from a C-Section, appendectomy, abdominoplasty, or other abdominal surgery can feel overwhelming, especially when it comes to something as essential as sleep. With a tender incision and limited mobility, finding a comfortable position may seem impossible—and yet, proper rest is critical for healing! In this …
How to Sleep After a C-Section or Abdominal Surgery Read More »
- How to Get In and Out of the Car after Hip Replacement
 Getting in and out of a car after a hip replacement can feel like navigating an obstacle course. Ensuring you move safely and avoid unnecessary strain on your healing hip is essential for a smooth recovery. Whether you’re heading to a follow-up appointment or simply enjoying …
How to Get In and Out of the Car after Hip Replacement Read More »
- A Complete Guide to Lower Body Dressing After Hip Replacement Surgery
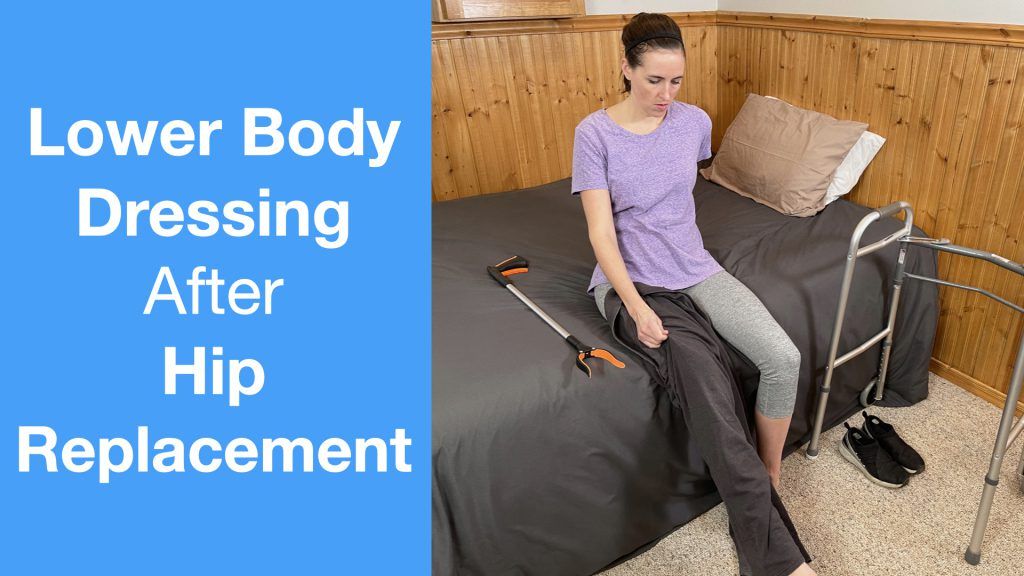 Recovering from hip replacement surgery (or similar traumatic injury) comes with its challenges, especially when it comes to everyday tasks like getting dressed. While your mobility may be temporarily limited, dressing your lower body can be made much easier with the right strategies and tools. This …
A Complete Guide to Lower Body Dressing After Hip Replacement Surgery Read More »